Azure Backup Vault is a great tool to extend our backup into the Cloud. All the most recent OS are supported and is very easy to install and configure. But what happen if one this server fails? In this article I will show how to restore files of a server to another one.
Obviously, in order to restore data to another machine, is necessary configure the restore server into Backup Vault, importing certificate on Azure, but is not required create a backup task. So for this demo I will use these machines:
– VM-Lab-Demo01 (Backup): on server A
– VM-Lab-Local01 (Restore): on my computer
During first deployment, when you start to configure Backup Vault, you have created, and imported on Azure, a certificate for each server to enable communication with Azure. This certificate must be imported to restore machine, from MMC into LocalComputer tree; at the end of task the result should be as figure 1.
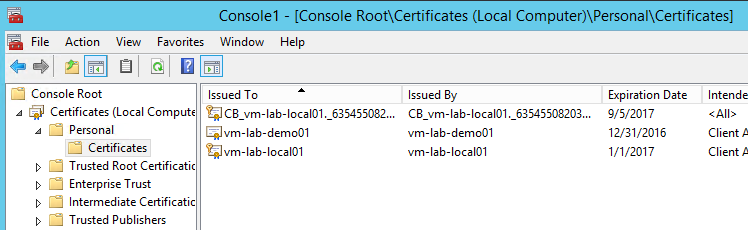
Figura 1 – Local Certificate
Once finished it will possible open Microsoft Azure Backup and starting Recover Data task, as showed in figure 2.
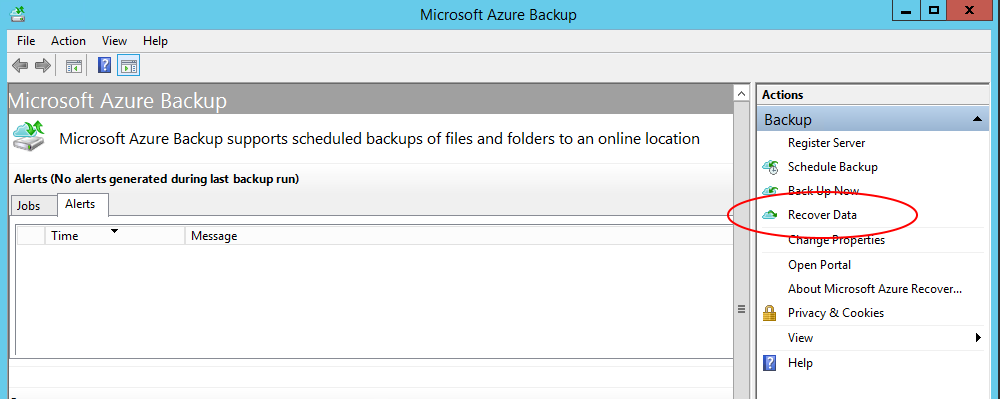
Figure 2 – Recover Data
Since we must restore data of another machine, is necessary select option Another Server, as showed in figure 3.
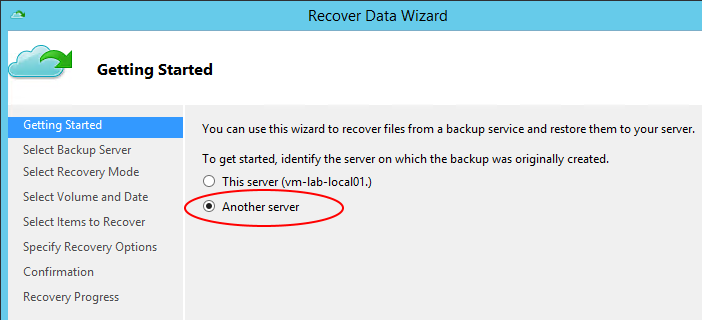
Figure 3 – Recovery Wizard
Depends by how many certificates you have imported into restore machine, the list could be more or less populated. In my case, figure 4, only one server.

Figure 4 – Server’s List
Wizard continue with the disk choosing, in case you protect more than one drive, and with recovery time. Select what you want restore, a folder or a file – figure 5, and into the final option choose if you want maintain ACL and the destination directory. Since recovery maintain the original folder structure, I suggest to select a root destination (like C:\ or D:\).
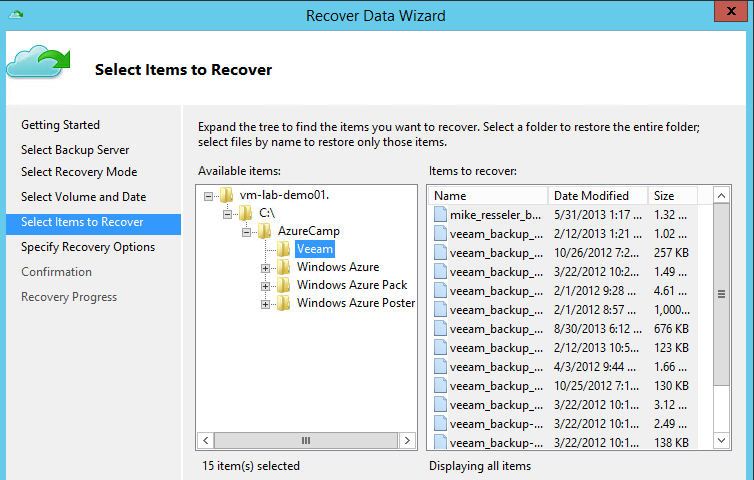
Figure 5 – Select File/Folder
Because the computer is different than the source, where we have create the original backup, is necessary insert the Encryption Key of VM-Lab-Demo01: this key has been created during agent’s setup and should be saved into a .txt file. Close the wizard and wait the finish of restore, as showed in figure 6.
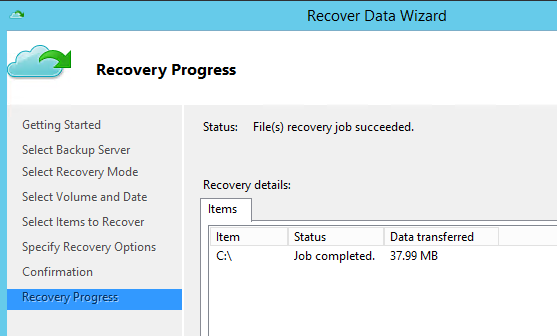
Figure 6 – Wizard Completed
Finish! As we see, excluding the file’s recovery time, the tasks are very easy and faster and didn’t require “hard” activities or reinstalling……you should have only a VM into your environment with all the certificate loaded, ready for a restore!
S