User mobility is standard who allows people to work outside the office with tools like VPN or Virtual Desktop Infrastructure. Another new trend is the Bring Your Own Device, where the people can use their device to access into corporate resources. It is a good solution for companies because they don’t care about buy new PCs, they must give only a remote services to the users.
Another problem, about mobility, is the huge number of devices. Each of us have at least two devices (PC and Smartphone) and many people have more then one PC; in this scenario is very important have a synced folders. To resolve these problems, many folks use OneDrive or DropBox or the more advanced OneDrive for Business, but is required SharePoint/Office 365; but is not always possible insert files into the Cloud, for example if there are very high security compliance.
One the most interesting feature in Windows Server 2012 R2 will be Work Folders, a corporate SkyDrive where all the files will be into File Server and available with all the clients Windows 8.1. Datas will be sync from external via HTTPS, for domain and workgroup machine. This article will explain how to configure Work Folders.
The first step is install the role from Server Manager, as showed in figure 1. With this role will be installed also IIS Hostable Web Core, necessary to expose the Work Folders to the users.
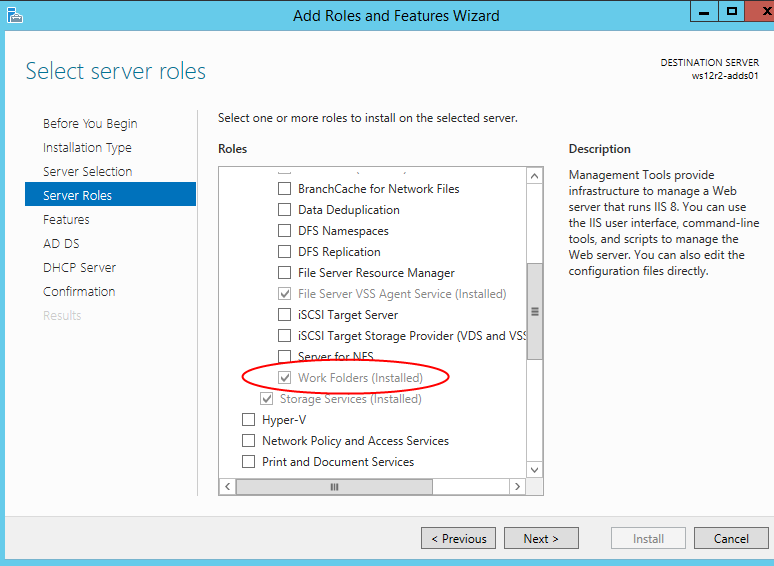
Figure 1 – Role Install
After installation will possible configure the feature from Server Manager / File Server / Work Folders. It’s possible create more then one Sync Folders, in case you want use more folders destination or if you want create specific policy rules. The first step of the wizard is select the folder, as showed in figure 2.
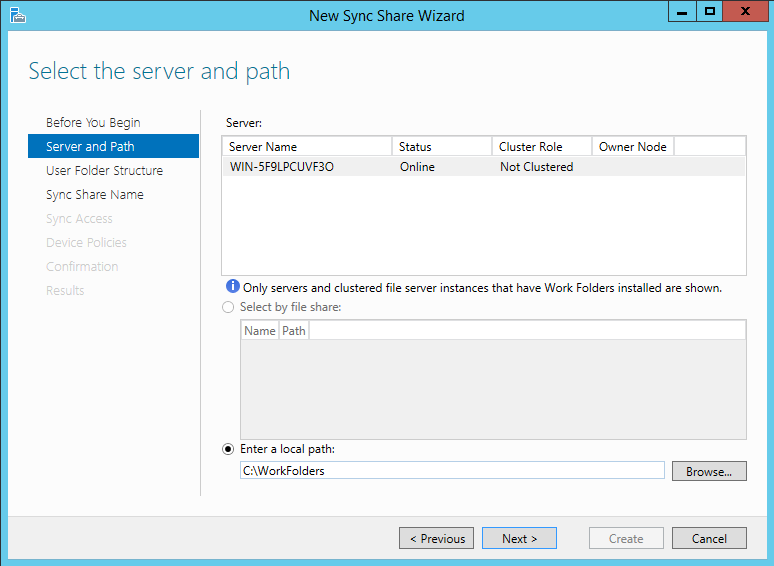
Figure 2 – Path Selection
The next step is select the user folder structure – figure 3. After choosing which kind of groups can access into folder, it’s necessary select if you want apply device policies like encryption and lock screen/require password. Encryption is very important to protect data into the client: this prevent the lost of data if “bad guy” try to attach your hard disk into his computer.
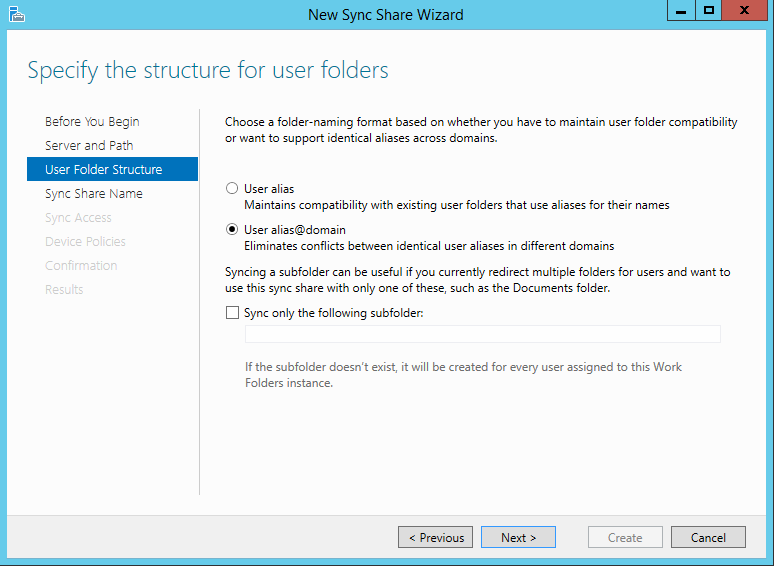
Figure 3 – User Folder Structure
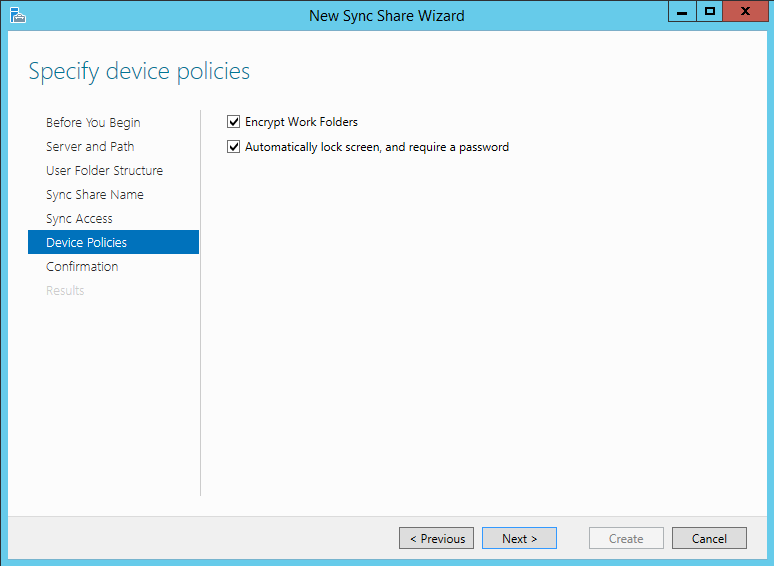
Figure 4 – Security Settings
Close the wizard. Generate a new certificate with Web Server Template, using an internal Certification Authority, with FQDN of external link (ex. workfolders.contoso.com) as showed in figure 5. If your internal domain extension is like the public domain, you must create a CNAME/ A Record into DNS. In a mixed environment, with also workgroup machines, is better buy a public certificate.
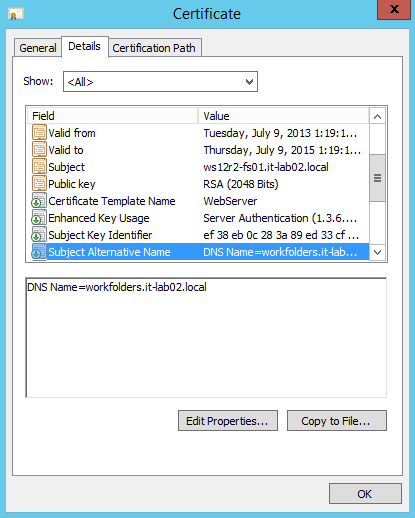
Figure 5 – Digital Certificate
This certificate will be configurated into Default Web Site of File Server machine, as showed in figure 6.
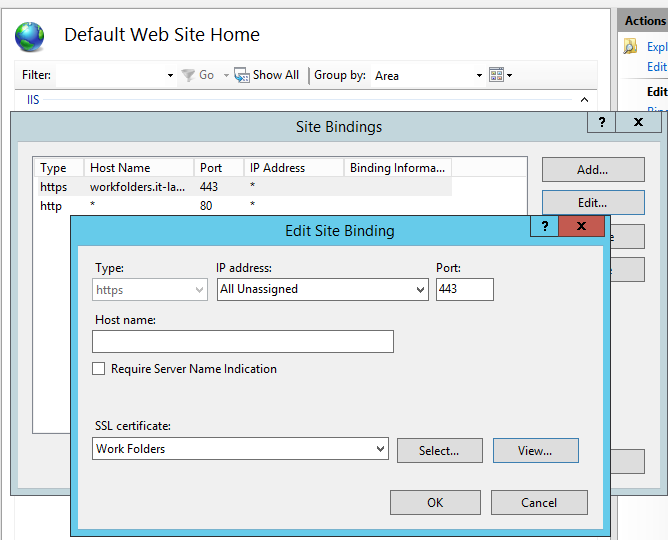
Figure 6 – Web Site Configuration
Certificate must be exported in .cer and deployed to the client via GPO, or manually…but is not a faster solution. If you bought a public certificate, you not have to do anything. Now it’s time to set client: open the Work Folders into control panel, insert the UNC, as showed in figure 7, and wait the end of configuration.
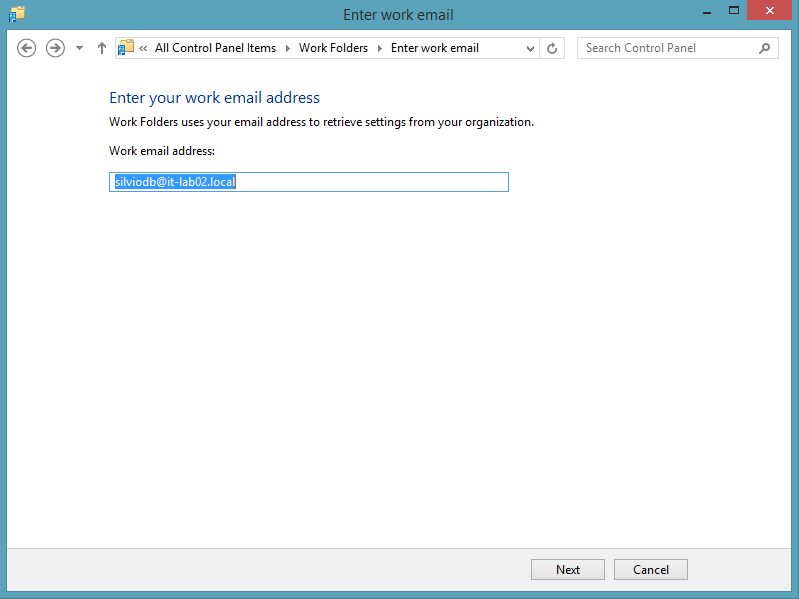
Figure 7 – Username
If the username will be recognized, will be necessary accept the compliance rule…without this flag synchronization will never start, as showed in figure 8. Finish! Now you are connected and the sync status will be showed as figure 9.

Figure 8 – Device Policies
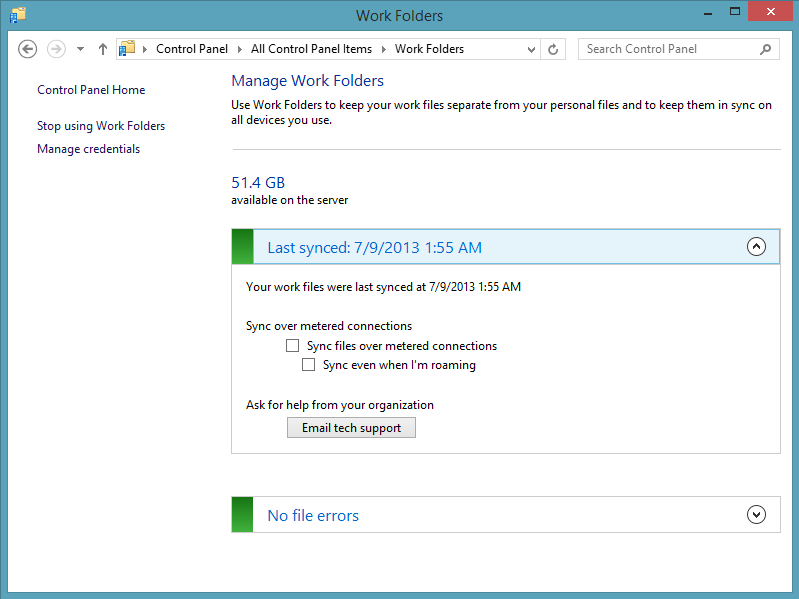
Figure 9 – Sync Status
Open This PC and check if the folder Work Folders is present or not, figure 10, and repeat the steps for all of your PCs.
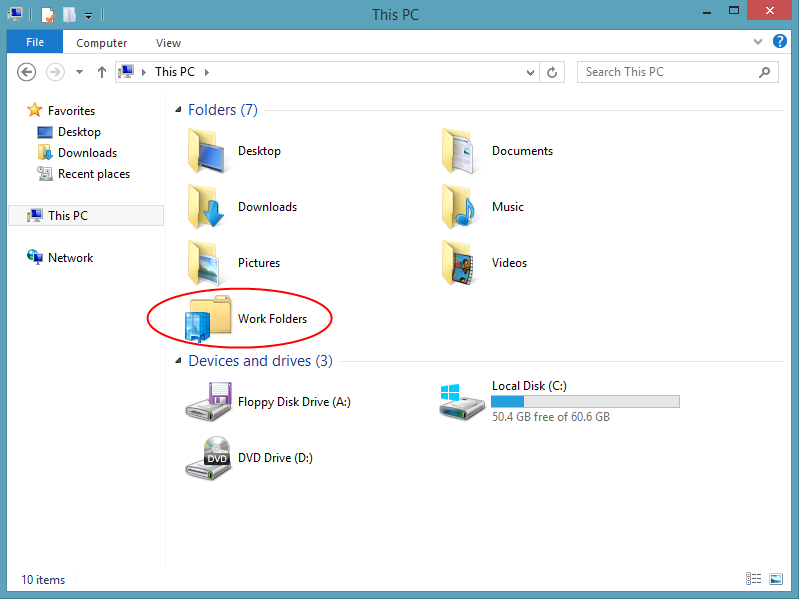
Figure 10 – Work Folders in This PC
This solution is amazing because offers the same features like DropBox and SkyDrive with the little, big, difference that files are into corporate server. If you want enhance the solution, you can implement also the Quota and File Screening to block non-approved files, like images and videos. In this moment client is available for Windows 7 / 8.1 and for Apple iOS.
S