Questo articolo è disponibile anche in lingua italiana al seguente link: Veeam Backup for Microsoft Azure: come configurarlo – WindowServer.it
Protecting cloud virtual machines should be a mandatory task, even if many continue to think that going to the cloud means getting rid of some obligations imposed by the on-premises world. So, if it is true that we need to backup Microsoft 365, or Google Suite, we also need to backup servers outside our infrastructure.
IaaS
IaaS means Infrastructure as a Service, where the supplier, Microsoft, provides us with an environment where we can put our VMs, without having to worry about what happens in the underlying stack, such as servers, networks, disks, etc.
Everything that happens in the part above this stack, i.e. the VMs, is our responsibility and therefore we must be the ones to build a backup plan to ensure that the data is always saved and managed according to our internal policy. Because if it’s true that Microsoft on duty has to worry about giving us the VM always available, it’s our problem if it gets corrupted because an update was unsuccessful.
Veeam Backup
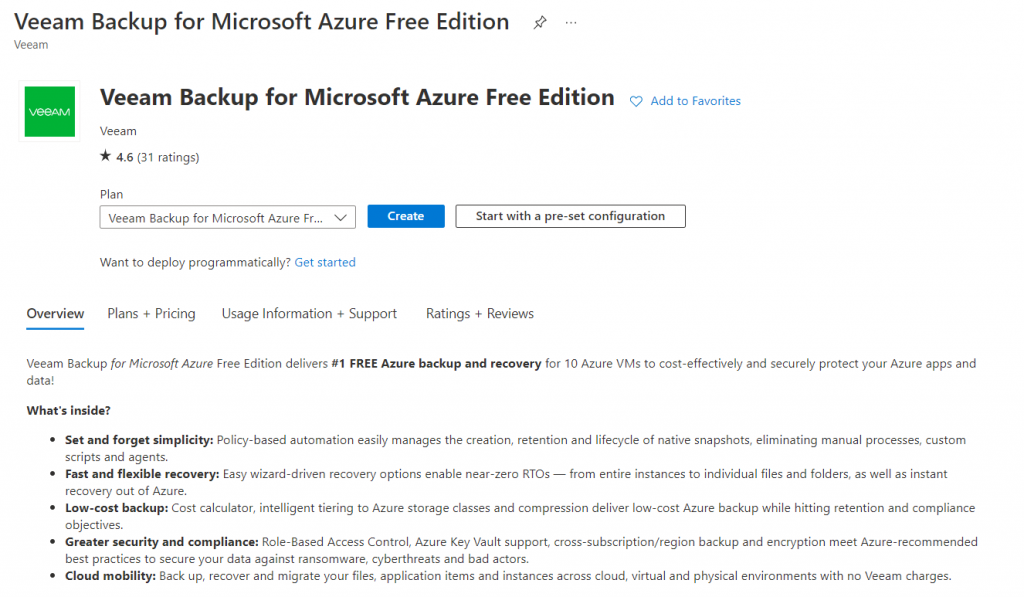
We have several backup solutions in the cloud, but among the most reliable we certainly find Veeam Backup for Microsoft Azure which brings its experience in the protection of virtualization environments. Surely it can be argued that Microsoft Azure offers a virtual machine backup solution by default, but the Veeam appliance offers a clearer UI, cost management and above all more flexibility in creating backup copies.
Another aspect that should not be underestimated is licensing. Basically, you can use Veeam Backup for Microsoft Azure to protect 10 virtual machines for free, but if you want to switch to a plan that provides support and a greater number of protected resources, you can safely use the Universal Licenses already purchased for your on-premises infrastructure.
Deployment
The first step is to create the resource, available in the Marketplace.
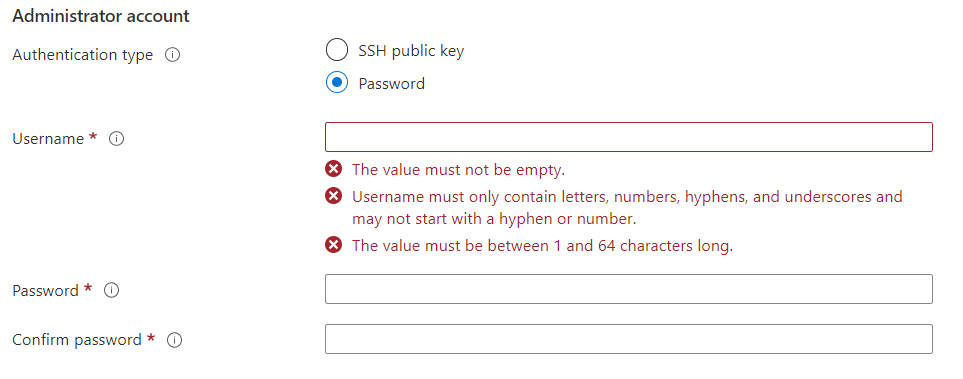
The creation of the appliance is no different from a classic VM, so we won’t go into too much detail. Instead, what may be useful to know is to enter a set of valid credentials for the creation of the Administrator user that will be used to connect remotely.
Another aspect to consider is where to place the VM at the network level: it is not necessary for it to go to the production network, but a Virtual Network used for Workgroup resources could be fine (e.g. the same one where you placed the Veeam Backup VM for Microsoft 365). Instead, it is important not to expose the VM to the world, so make sure that only your Public IPs can connect on port 443 and 22.
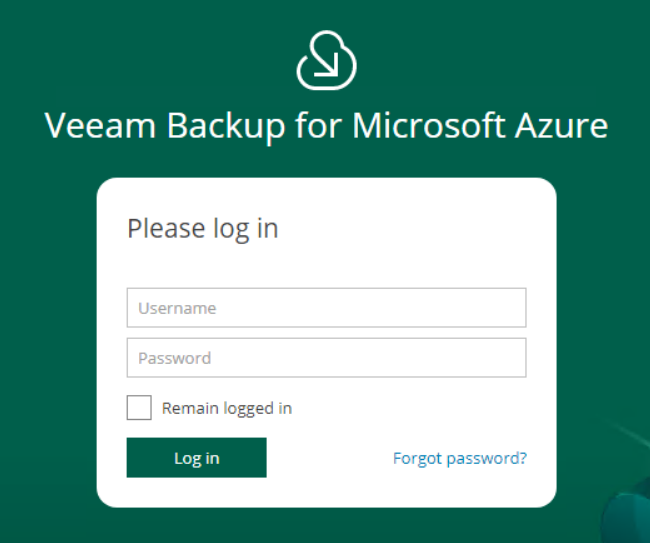
Once the resource has been created, after a few minutes, it will be available at the IP address through your browser.
Starting from scratch, you will need to configure a service account capable of connecting to your Azure Subscription and Storage Account; this account can be unique or differentiated.

In case you use the same account, you will be notified with a message.
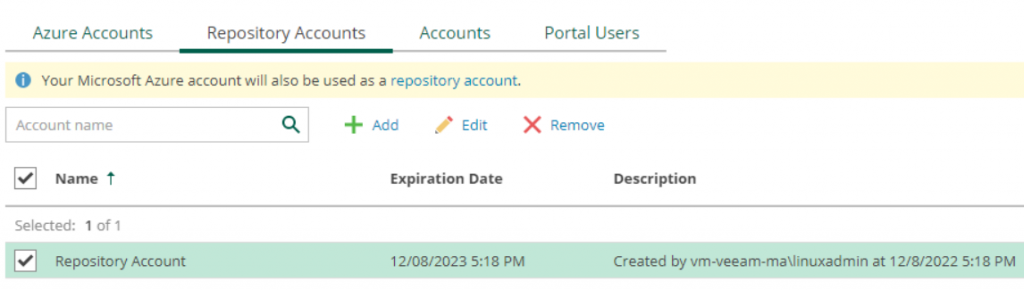
Once the service accounts have been created in order to interact with your Azure subscription, you will need to connect to a storage account where you can save data.
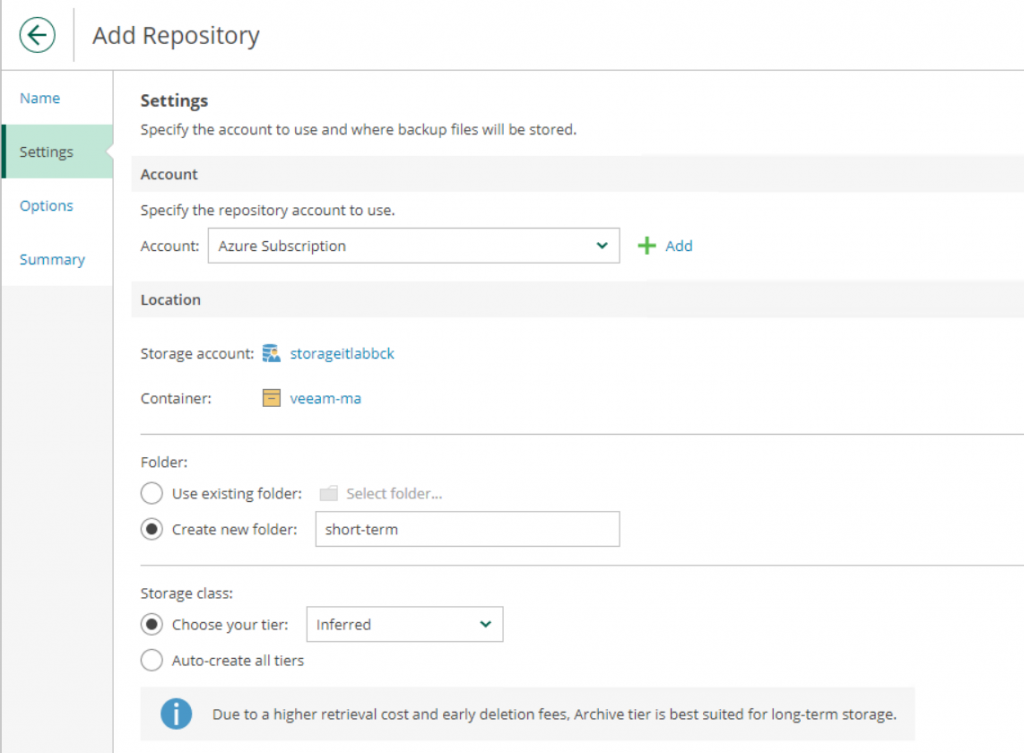
While the storage account and container must already exist, the folder can be created during the wizard. An element to take into consideration is the class, where you can specify whether the chosen tier is Hot, Cold, Archive or Inferred; this division is useful if you decide to create different backup jobs to archive information with different retentions.
Encryption yes or no? It depends on your company policy and who has access to the storage account besides you (perhaps a partner).
Job Configuration
The backup job configuration is very simple and is divided between Virtual Machines, Azure SQL (PaaS), Azure Files – in this case we will see the protection of VMs.
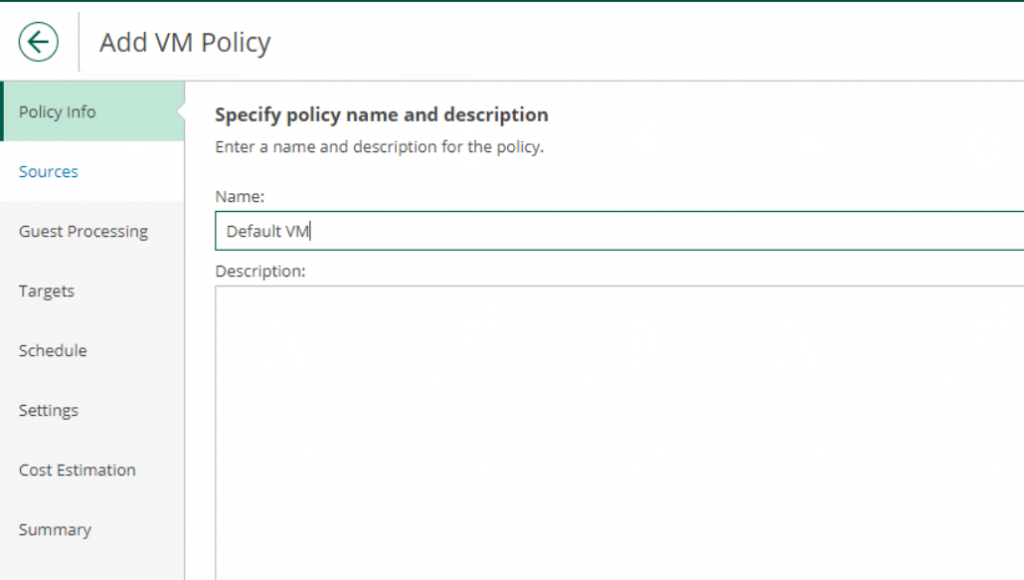
Clearly, the first step is to assign a name to the job with a possible description of what we are going to protect. This operation is also useful for giving visibility to the other components of the ICT department.
The next step is to choose the subscription to protect, the Region and the virtual machines.
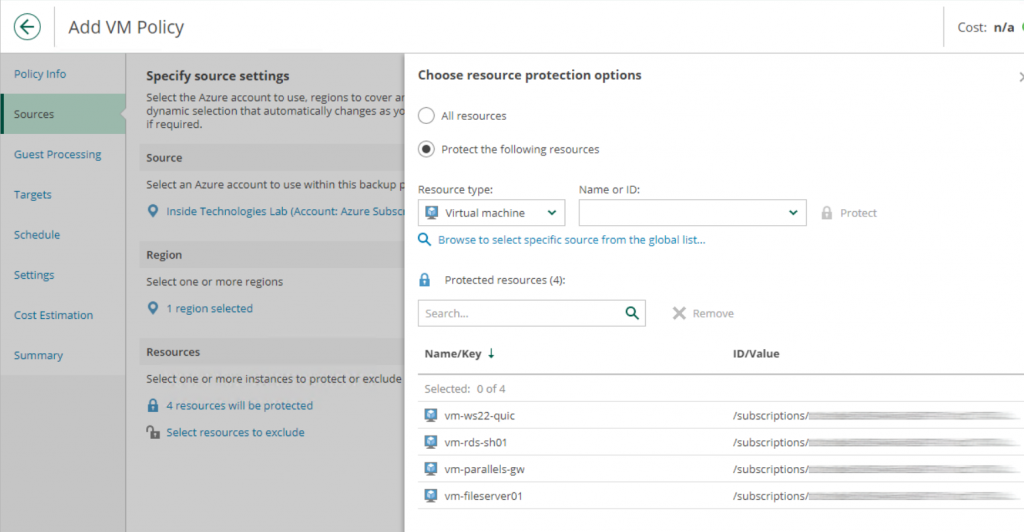
There are two approaches from this point of view: include everything or choose what to protect.
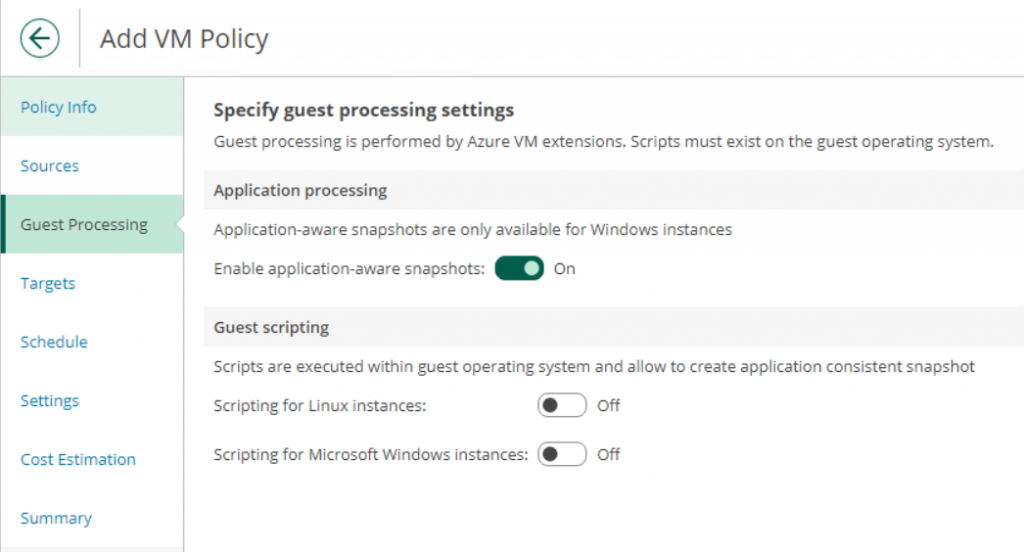
As with Veeam Backup & Replication, you can use Application-Aware to create snapshots, without impacting internal VM services. Another possible thing is the execution of pre-backup scripts, perhaps for those software that do not support the VSS Writer; scripting is available for Windows and for Linux, provided that the file is present inside the virtual machine.
Target and Scheduling
The target section can be misleading but in truth it is critical because by not activating this option, it is not possible to activate the backup plan. By default Veeam creates snapshots of the various VMs but does not create actual backup files.
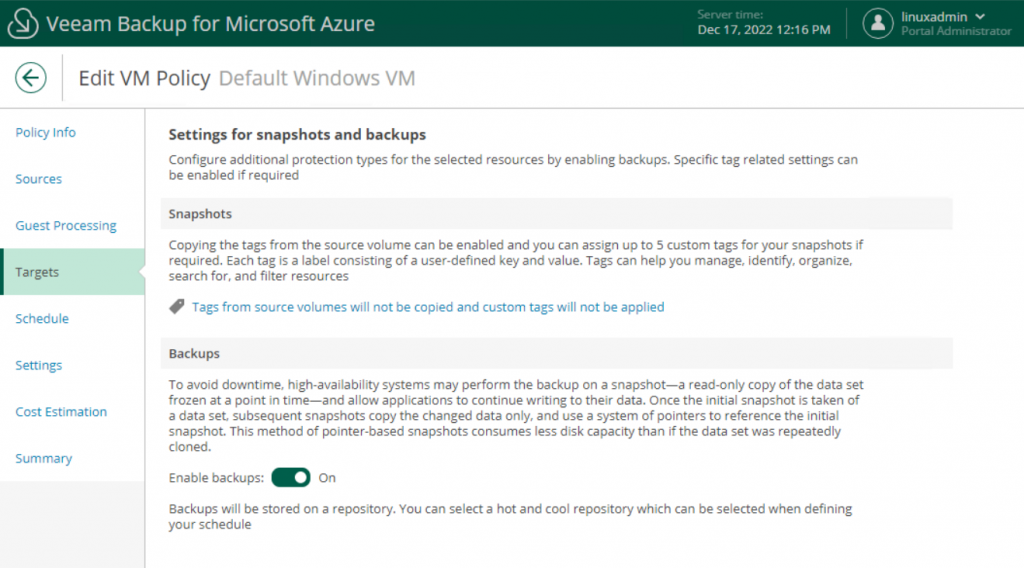
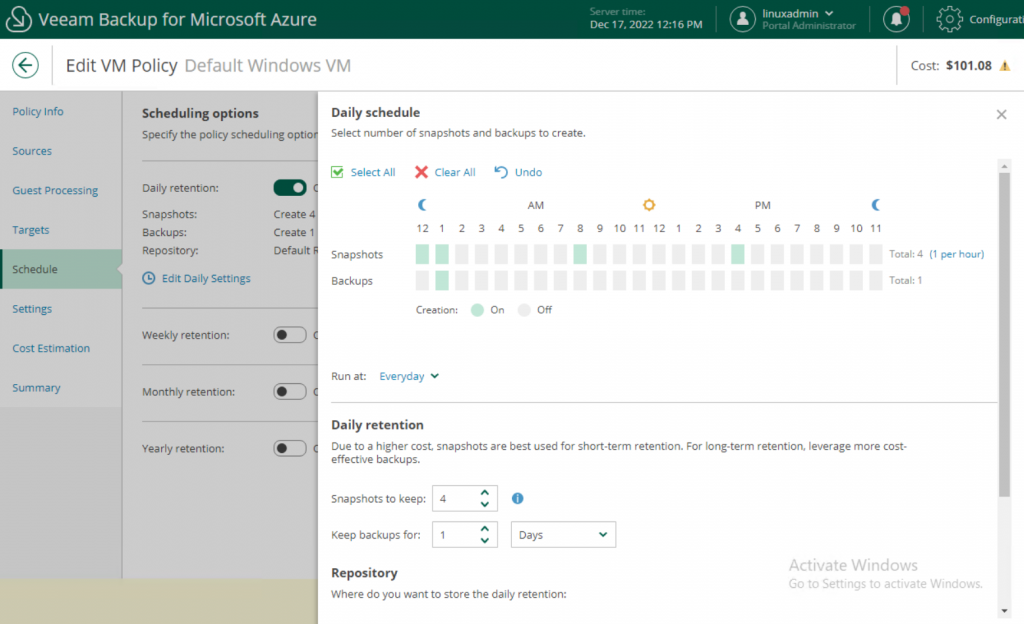
The scheduler helps you set how often snapshots and backups are taken and how many copies to keep saved. Here you go to build your plan correctly: the daily and weekly backups can be in a Hot storage account, with perhaps 24 snapshots and at least a 7-day retention backup.
Monthly and annual backups can instead stay in a Cool or Archive type storage account to help you keep costs down. This differentiation can be done by choosing the target repository in the various retentions.
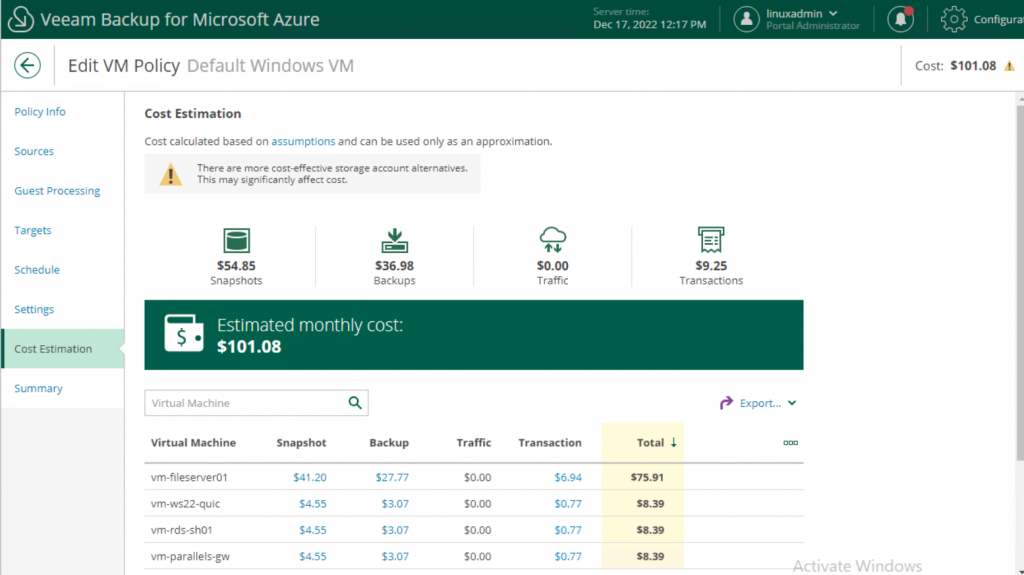
Cost Estimation
This is one of the biggest pluses of Veeam solutions, namely knowing how much the backup plan is going to cost. This report is not only available for Azure, but it is also available in the on-premises solution when we restore a VM to Azure, as well as it is available for AWS.
Backup Job Status
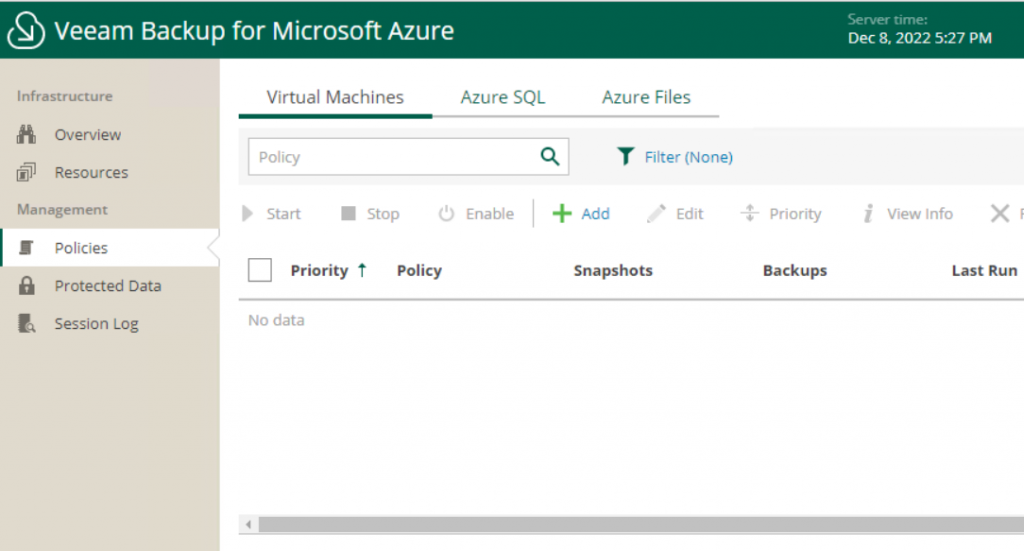
Within the Policies area, where we started from, it will be possible to view our backup plans and protection status.
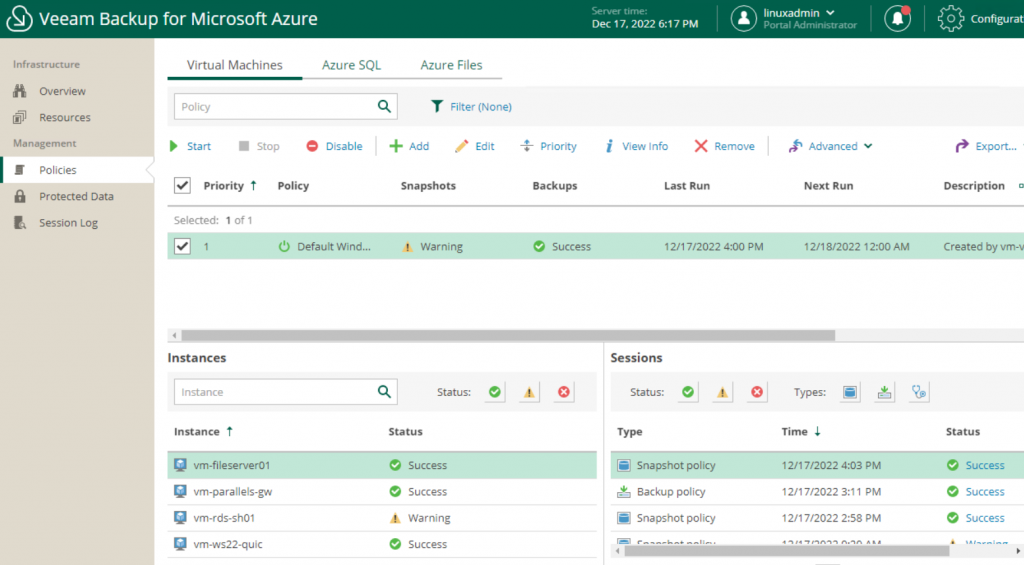
In case of errors, it will be possible to drill down on the message to understand what went wrong.
Restore
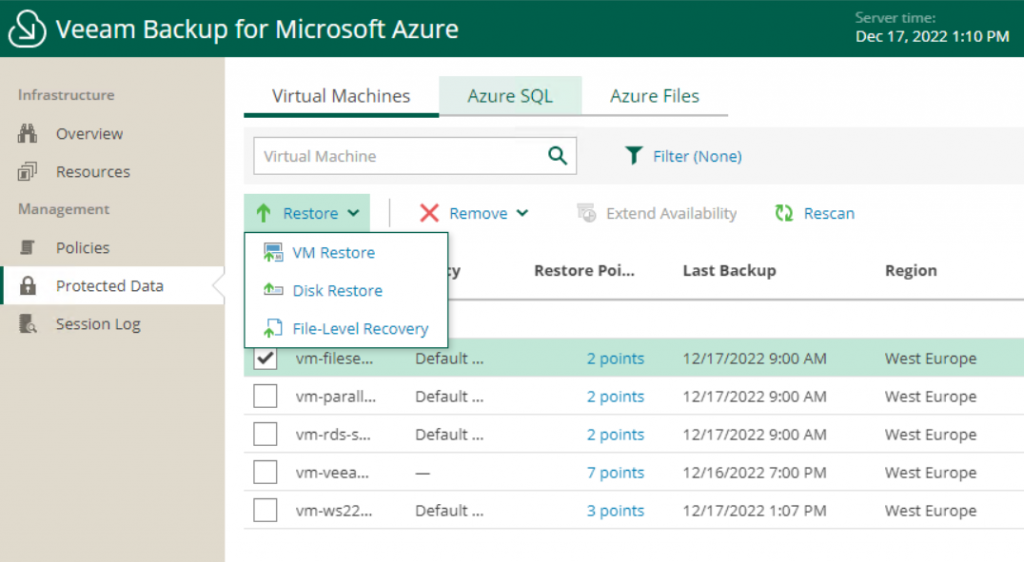
How do you recover an object? From the Protected Data section, it will be possible to choose the resource on which to perform the operation and the type (e.g. File Item); by starting the restore procedure, a process will be triggered that will mount the snapshot, or the backup, which will help you recover what you need.
In the case of File-Level Recovery, a mount will be made inside a temporary storage that the administrator can browse and from which he can recover the necessary elements.
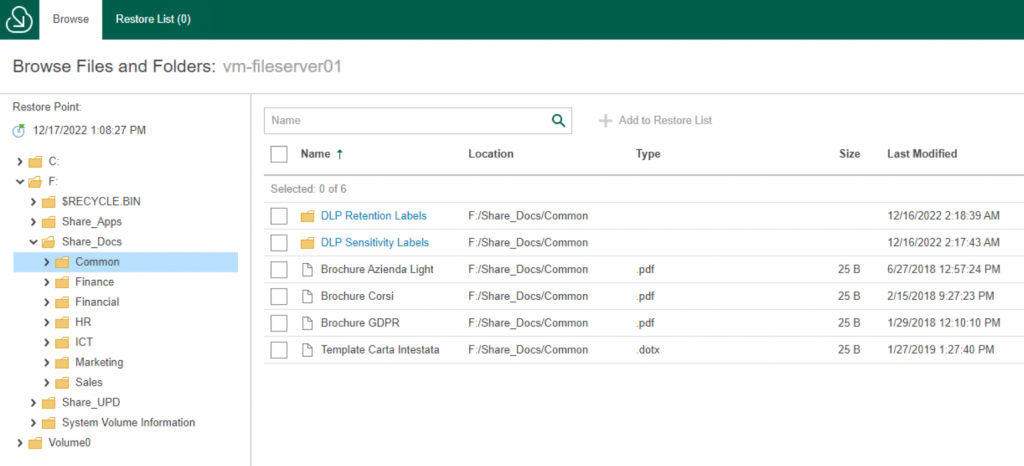
Currently, it is not possible to restore items directly into the virtual machine, but must be downloaded and overwritten by hand (or made a duplicate). This leads us to say that, if the files to be recovered are many or large, it is better to perform this procedure directly on the destination server.
Tips
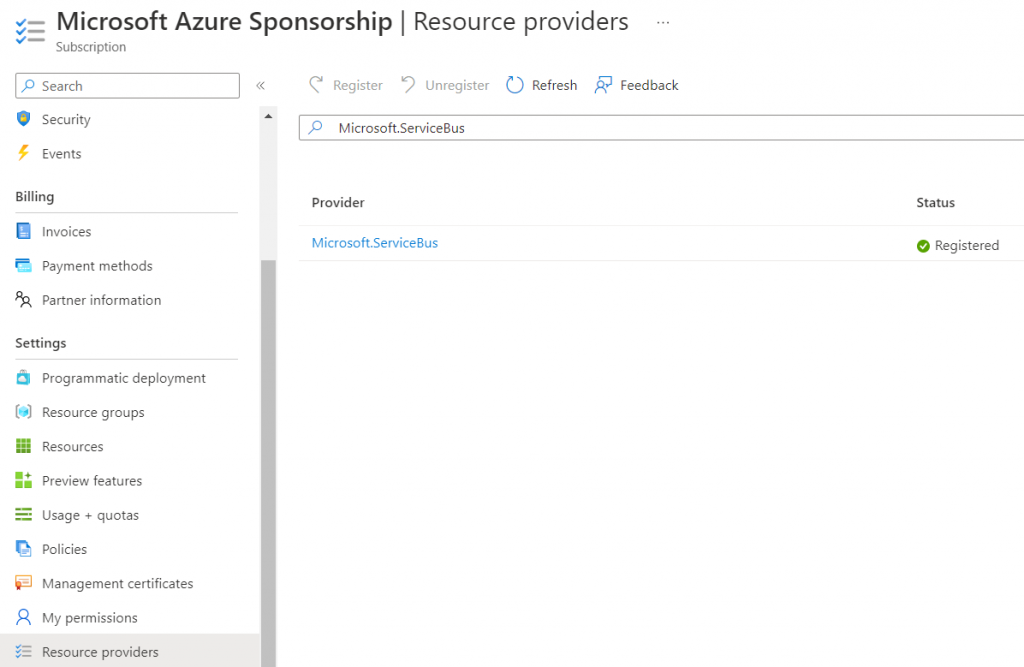
Before running your first backup job, make sure you have registered the Microsoft.ServiceBus Provider, so you don’t have problems with the VSS Writer. This component is enabled within the properties of the Azure subscription.
Conclusions
Veeam Backup for Microsoft Azure is certainly one of the most complete solutions for protecting your workloads in the cloud, thanks to an easy-to-manage interface that allows you to create retention capable of meeting business requirements. Surely the product is intended to integrate other services, but this is more than good for now.
#DBS