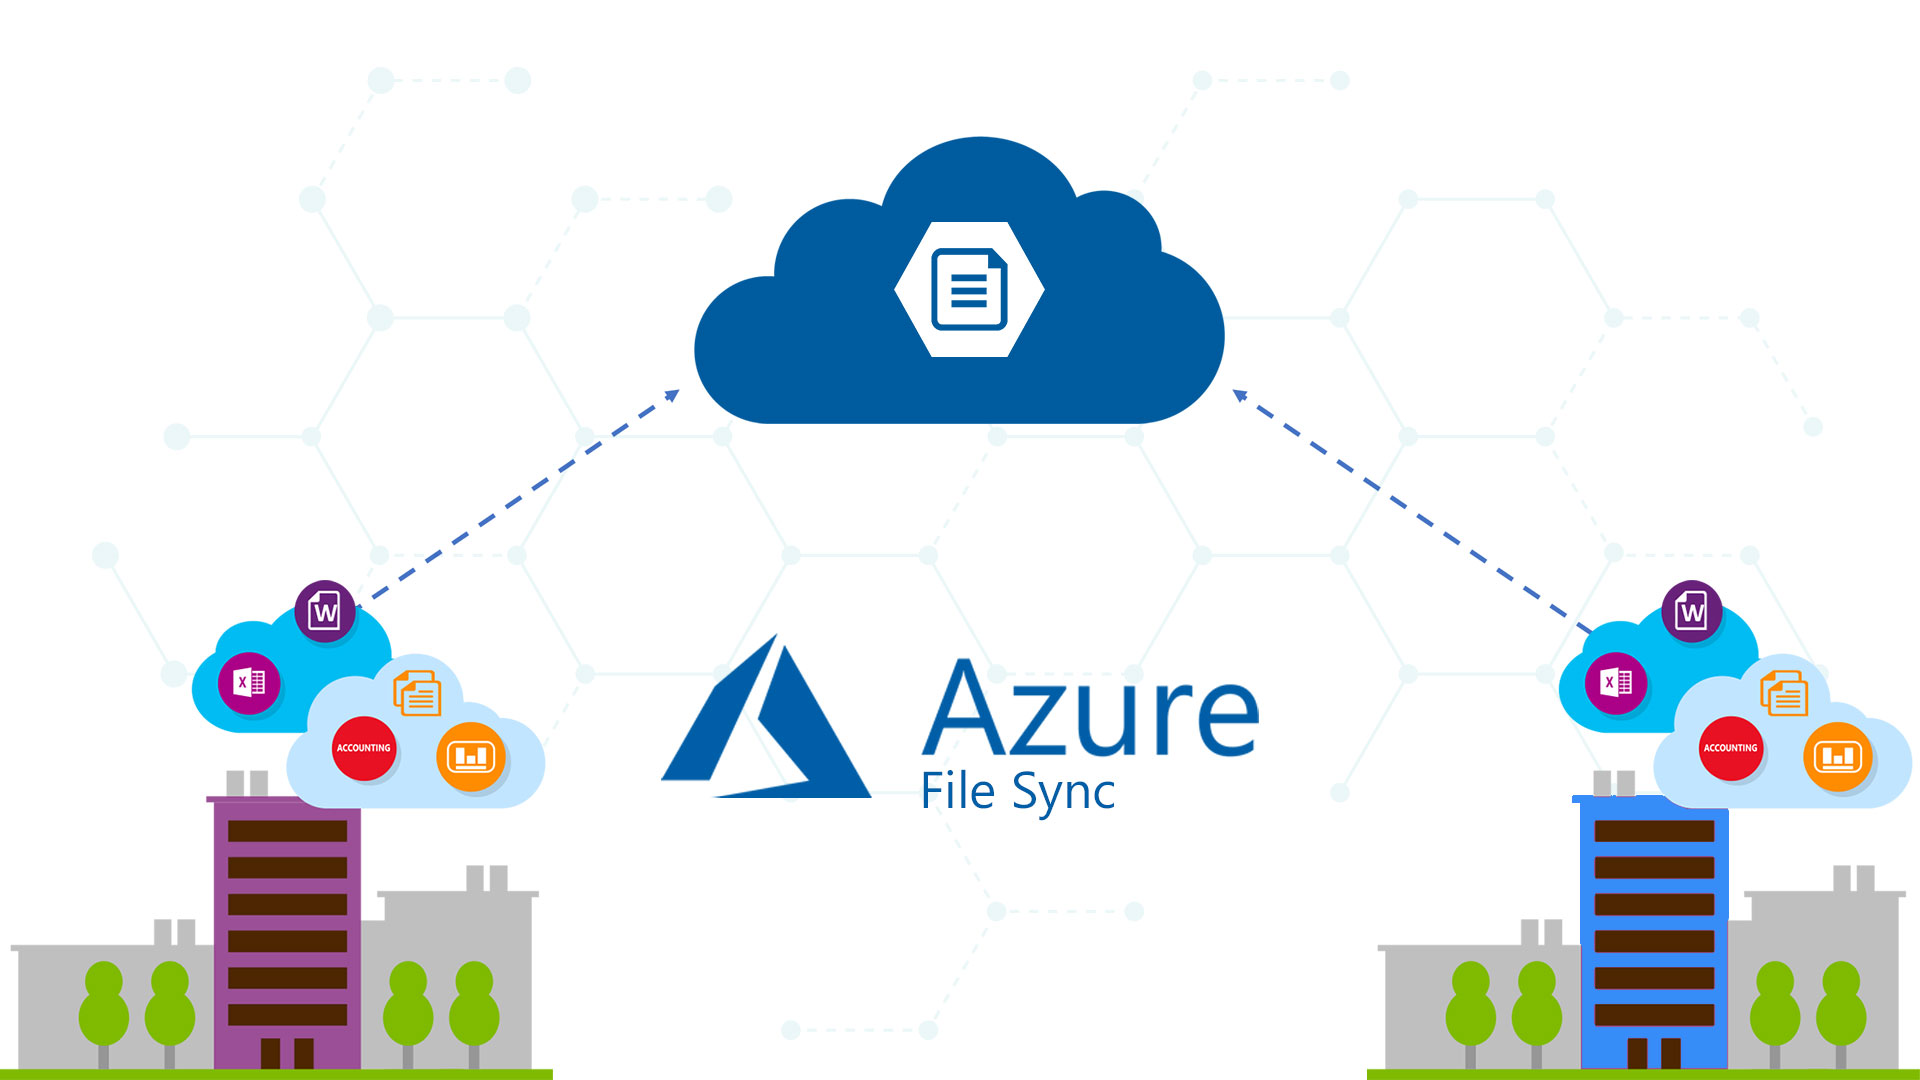
Azure File Sync is a cloud services that allows to keep aligned one or more folders between different servers in different locations. The Azure File service gives you a fully managed cloud file share and extends the ability of organizations to share files across on-premises and the cloud.
The idea is to use Azure as orchestrator between each endpoint with the benefit to preserve ACLs. Is this the evolution of DFS? More or less, because DFS is still alive and is perfect for some environment but yes, it’s not impossible say that is an evolution but in hybrid mode! Furthermore, Active Directory is not required and the solution works also in Workgroup (amazing for some scenarios).
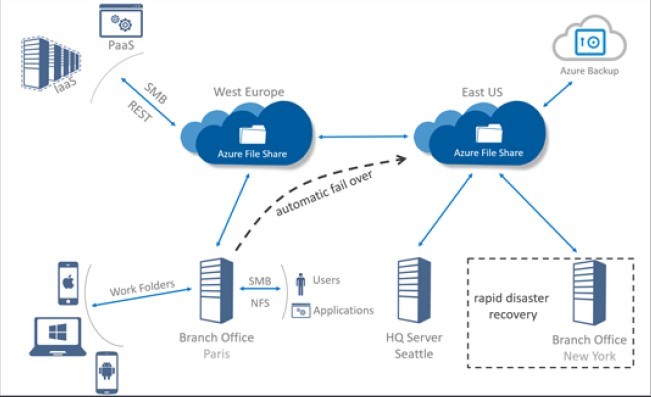
The powerful behind this project is the flexibility: all the information can be reach via local SMB share, via Work Folders but also via remote SMB share. Yeah baby, all the files are stored into Azure File Share.
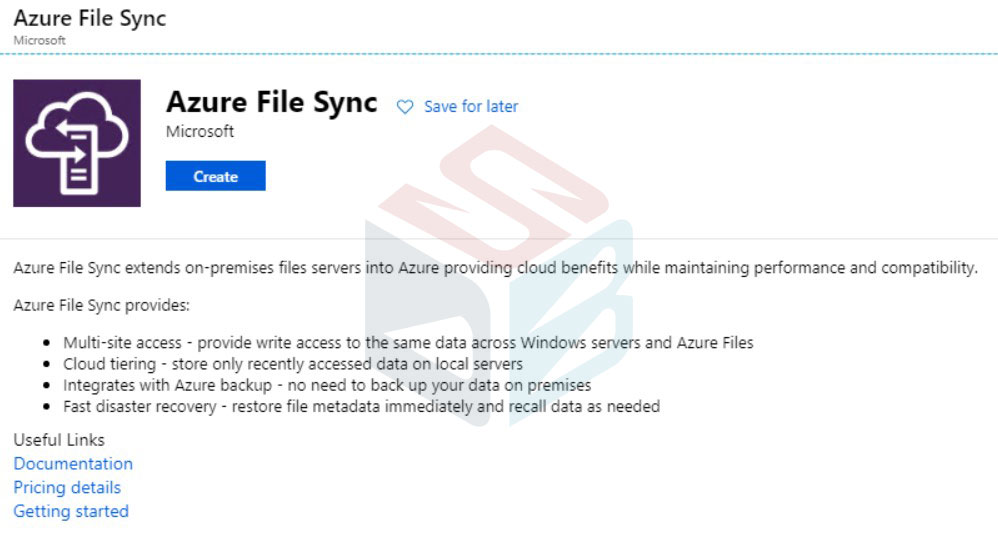
Azure File Sync provides:
- Multi-site access – provide write access to the same data across Windows servers and Azure Files
- Cloud tiering – store only recently accessed data on local servers
- Integrates with Azure backup – no need to back up your data on premises
- Fast disaster recovery – restore file metadata immediately and recall data as needed
In this article, we will cover these basic steps and make sure that all data from our file server is in a resilient and redundant cloud storage solution.
Configuration
Before starts, just for information, is a good idea read the limits about service:
- Storage Sync Services per region: 20 Storage Sync Services
- Sync groups per Storage Sync Service: 100 sync groups
- Registered servers per Storage Sync Service: 99 servers
- Cloud endpoints per sync group: 1 cloud endpoint
- Server endpoints per sync group: 50 server endpoints
- Server endpoints per server: 30 server endpoints
- File system objects (directories and files) per sync group: 25 million objects
- Maximum number of file system objects (directories and files) in a directory: 5 million objects
- Maximum object (directories and files) security descriptor size: 64 KiB
- File size: 100 GiB
- Minimum file size for a file to be tiered: 64 KiB
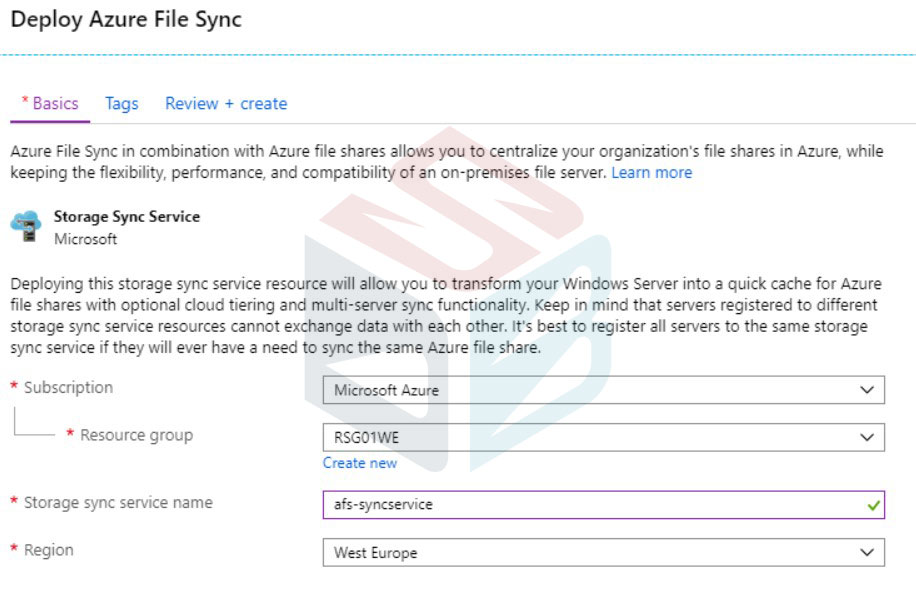
The first step is creating the Storage Sync Service; search Azure File Sync from Marketplace as showed in figure 2.
The wizard is very easy where you just need to select a name and the resource group – figure 3.
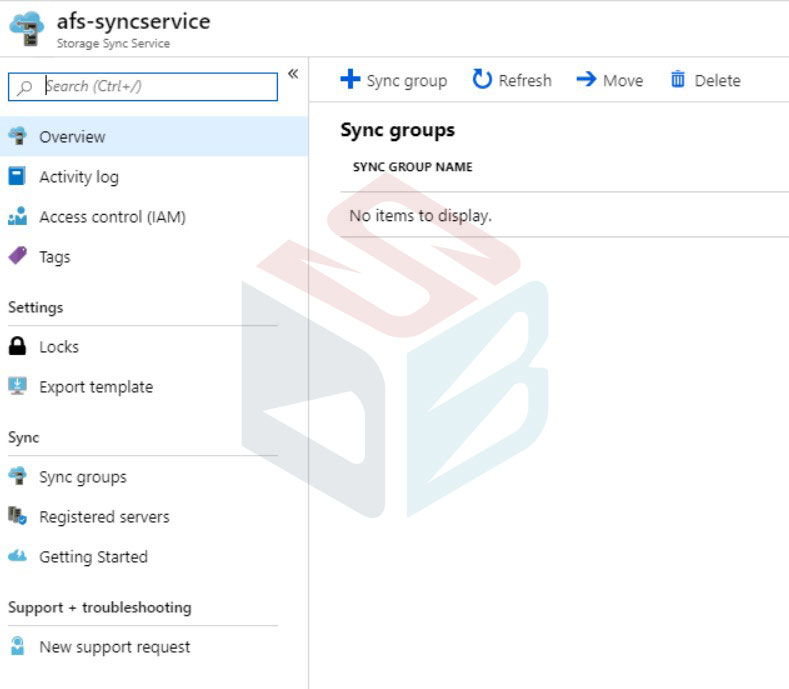
After few seconds you will be ready to create the first Sync Group – figure 4.
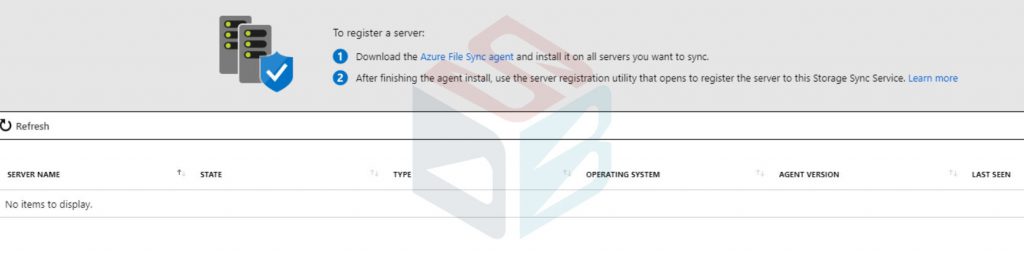
When the group will be ready, click on link to download the last agent version – figure 5.
The operating system supported are Windows Server 2012 R2, Windows Server 2016, Windows Server 2019. Nothing about Windows Server 2008 R2, if you want to use this service, consider the idea to move your documents with Windows Server 2019 though Storage Migration Services and then on Azure File Sync.
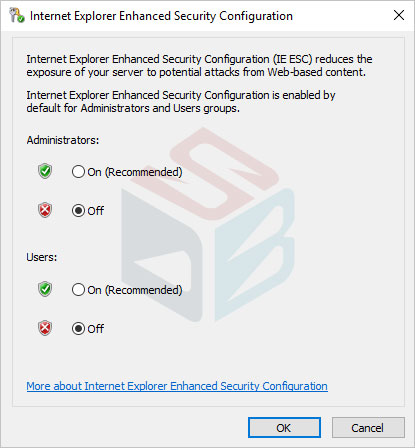
Before install the agent, don’t forget to disable IE Enhanced Security Configuration for Administrators – figure 6.
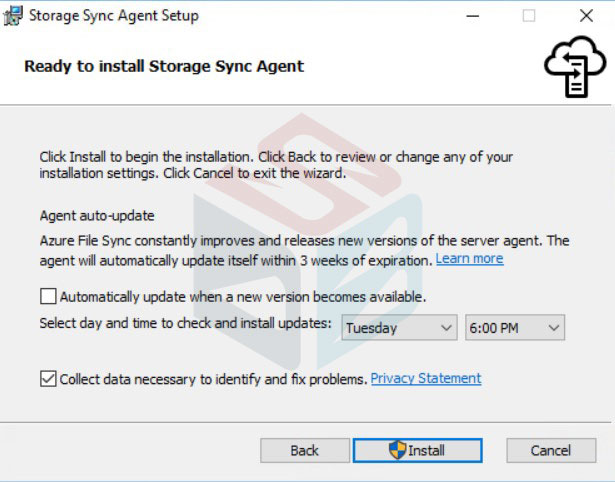
The first setup is simple because is only the bits copy.

After the setup, it’s time to register the server. In order to use AFS, there are some requirements:
- Az or AzureRM module (version 4.3.1 or later)
- Windows Management Framework 5.1 (Windows Server 2012 R2 only)
- NTFS File System (ReFS is not in roadmap)
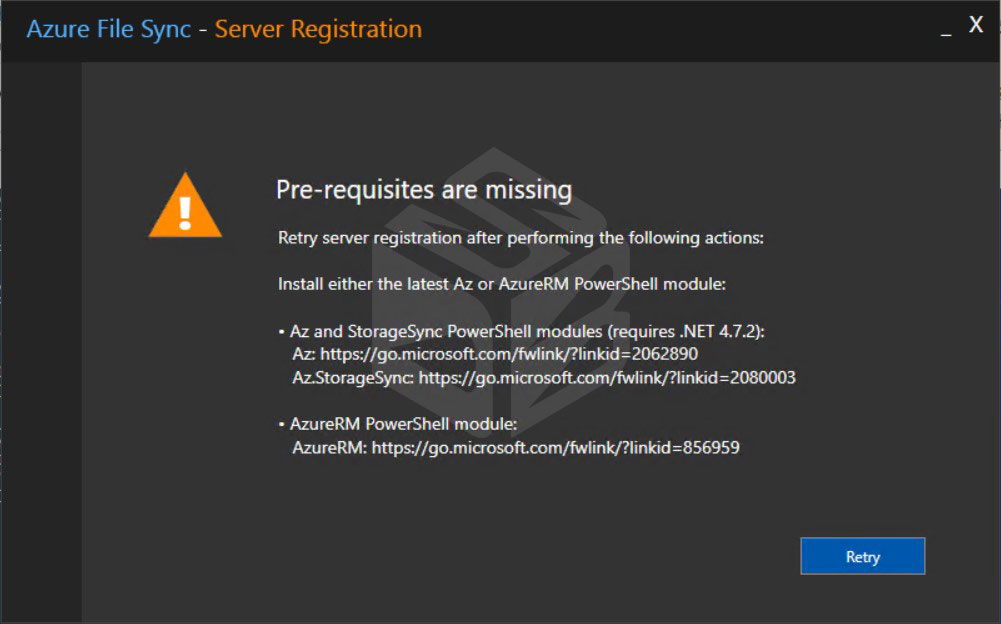
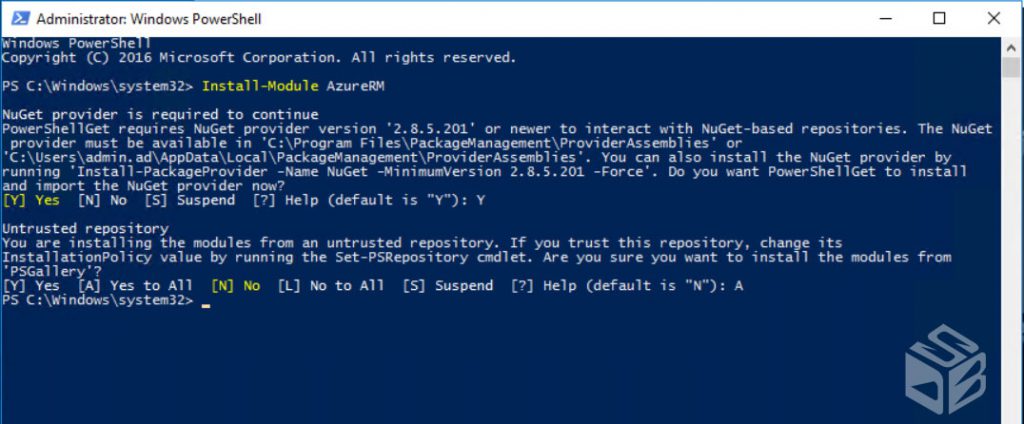
To install the PowerShell module, use the command Install-Module AzureRM and don’t forget to run the shell as administrator. Restart the server to have a clean situation.
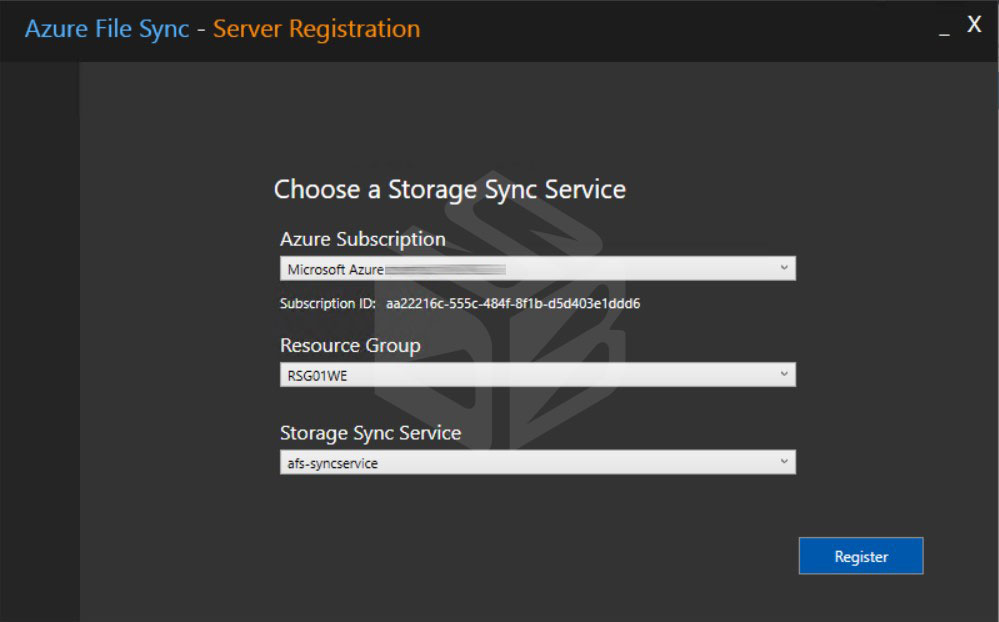
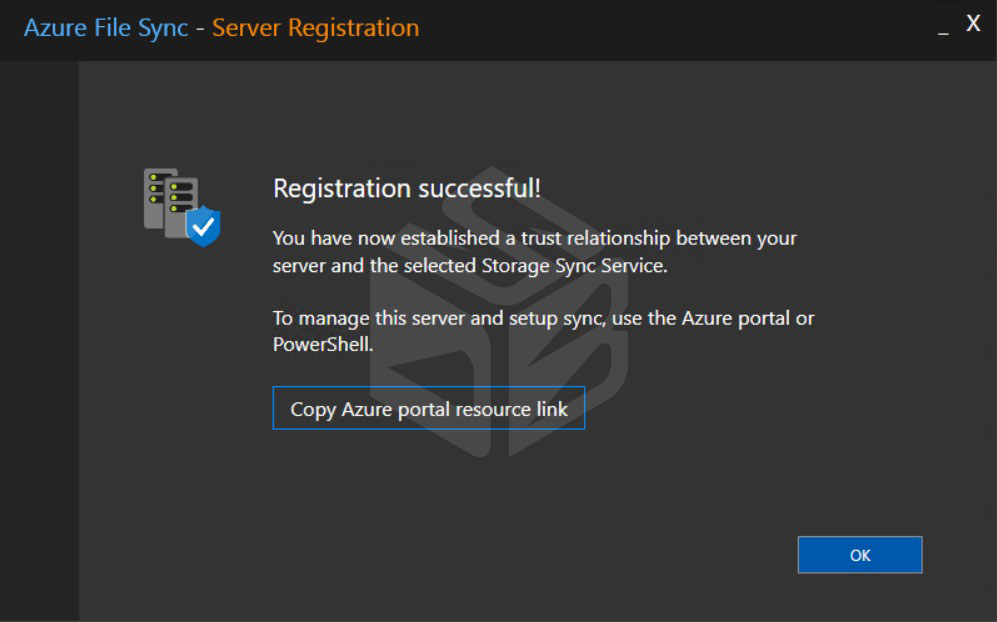
Select the Azure Subscription, the Resource Group and the Sync Group to start the registration.
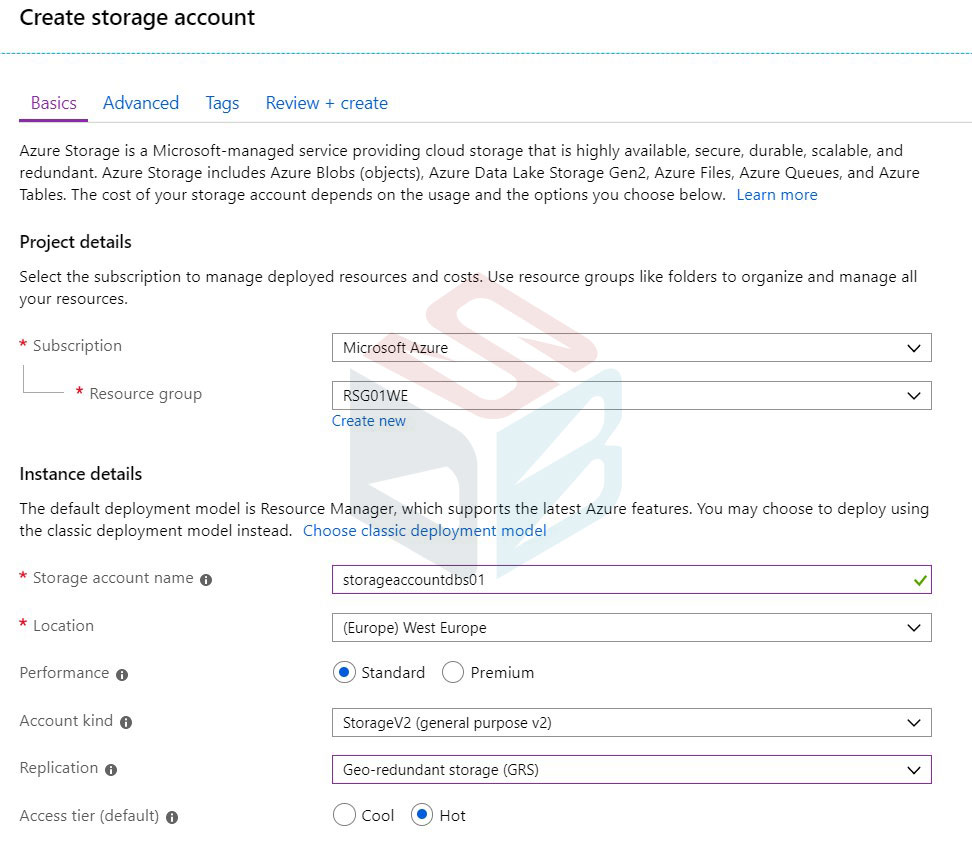
Azure File Sync use a Storage Account to save all data, so if you don’t have a repository follow the next steps. In this article, we will be creating a Storage Account (general purpose v2) with and Standard performance (magnetic disks, low cost). After making all decisions, click on Create.
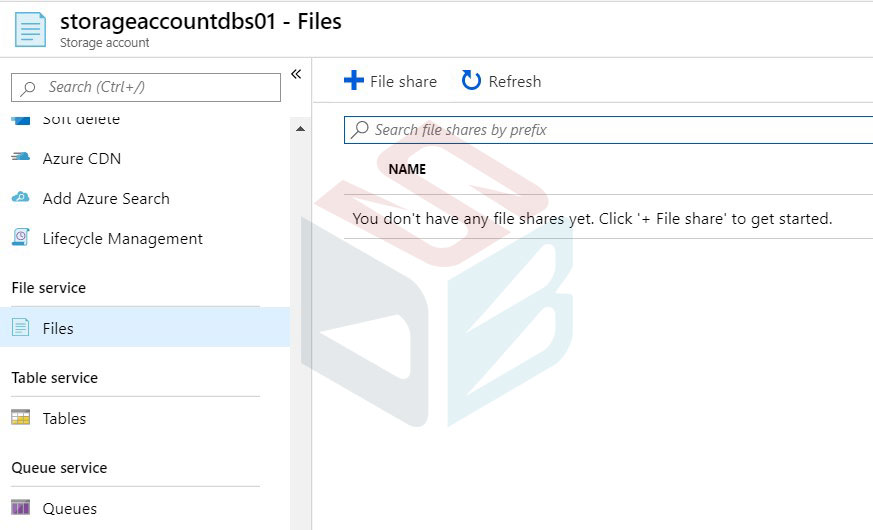
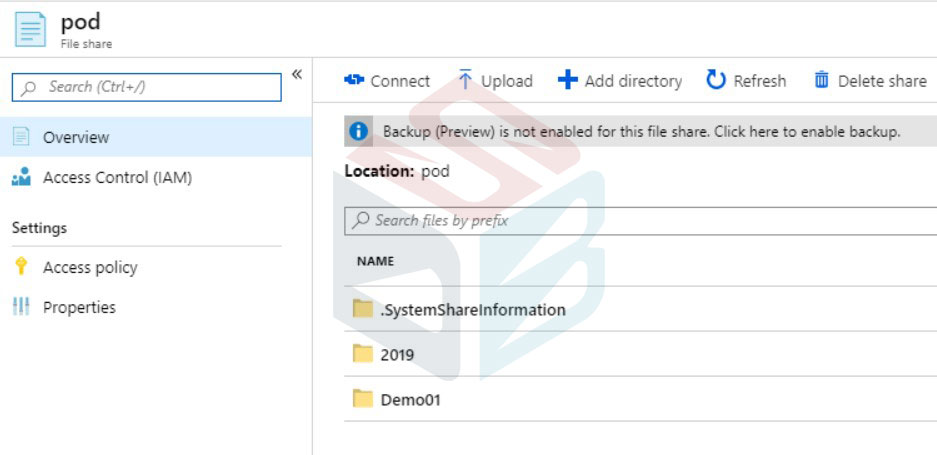
When the Storage Account is ready, create a new File Share.
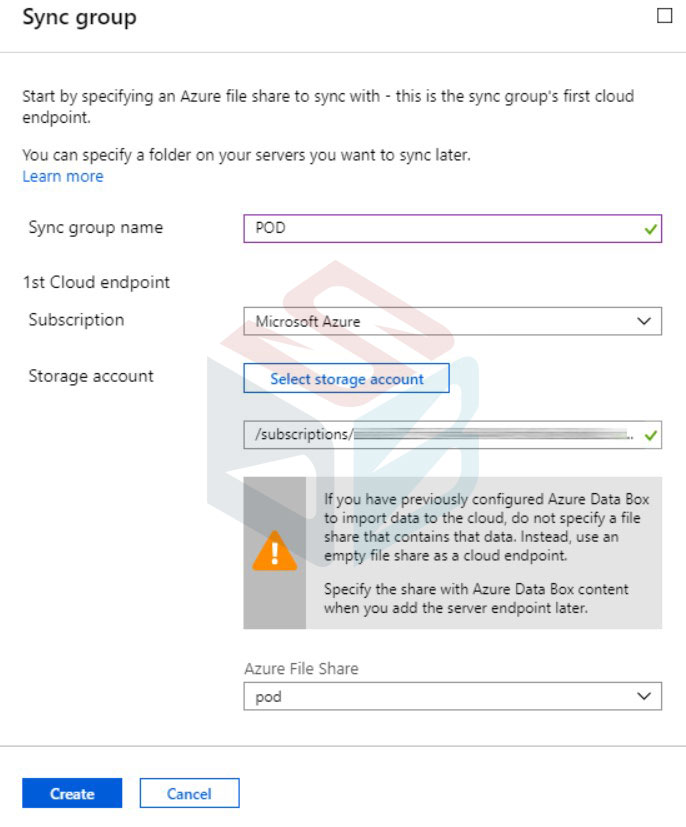
At this point we have a Sync Group Service, we have a server registered, we have a Storage Account and we have a File Share. It’s time to create the first sync group repository. From Sync Group Service add a new Sync Group; give a name (can be the same of your folder), select the subscription, the storage account and the file share.
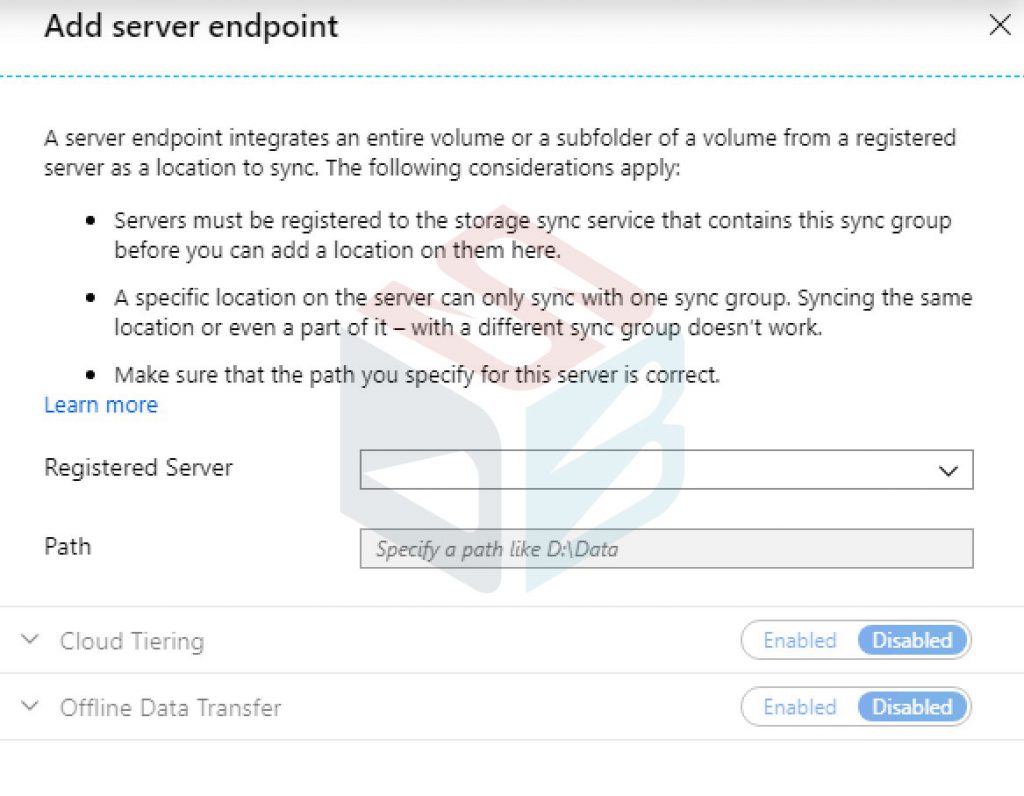
The last step is adding the registered server as Server Endpoint. Select the machine from list, add the local path that you want to synchronize and if you want use the Cloud Tiering: this option is perfect to remove old files from local server in order to save disk space. The bad news is that there’s no way to select what is the criteria to keep files.
Now you must only wait the replica time. This value depends by number of files, the size of each file, the bandwidth but also the server performance. So, can be 15 minutes or can be 2 days. By the way, you can monitor the health status with server information, bytes synced and files synced.
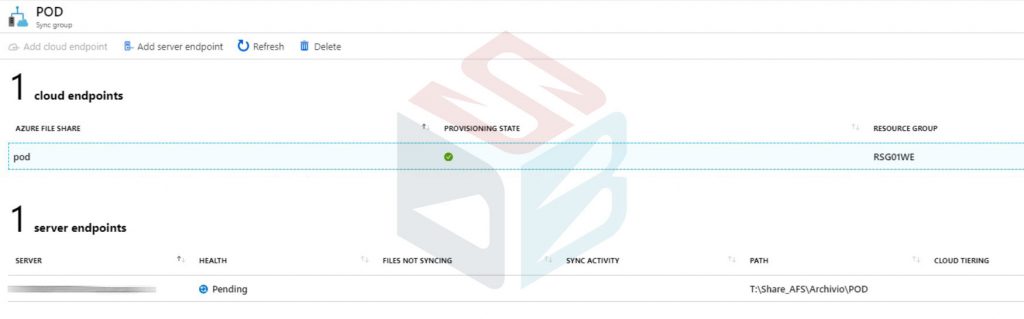
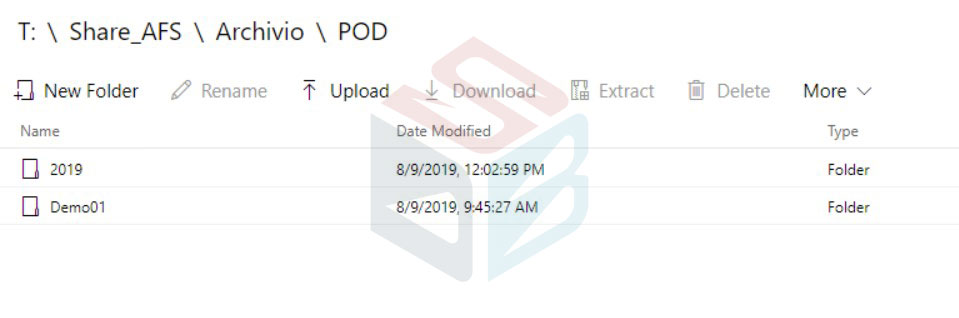
After few minutes, you can check the result locally and into File Share.
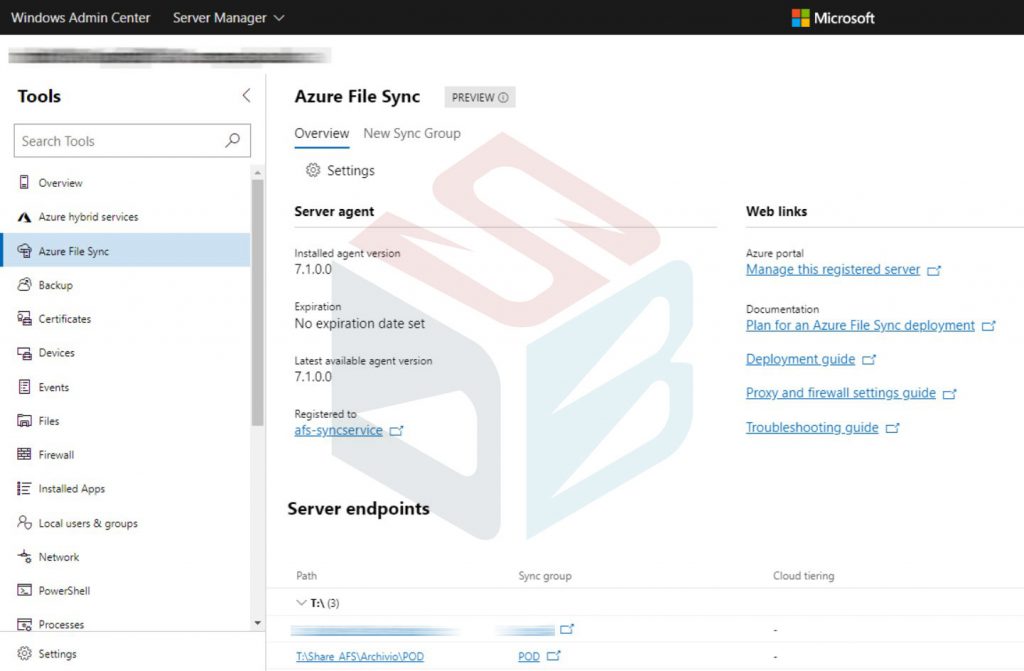
Windows Admin Center
Azure File Sync is available also in Windows Admin Center (WAC). The extension allows admin to server endpoints, agent version and other small info. Not too much but in the future other functionalities will be deployed.
Summary
Azuze File Sync is absolutely a great service that extends the classic file servers deployed on-premises with new features for content synchronization, using the potential of Microsoft public cloud in terms of scalability and flexibility. Can be also a great substitute for DFS-R and for the migration during the migration phase of deployment of DFS-R to Azure File Sync.