The deployment of Microsoft 365 client is not so complicated, given that Microsoft offers a quick setup that allows you to install the suite in a short time. However, this scenario can be perfect for unmanaged offices, or with few users, while in cases where there are more computers, or where you want a greater level of attention and personalization, it is highly recommended to take a step forward.
Microsoft Office has always been a customizable product, through its Office Customization Tool, but compared to the past, the 365 version does not provide the possibility of having an ISO, because the setup should always be done with the latest version. The point is: how do I distribute the Microsoft 365 client centrally and how do I need it? This is what we are going to see in this article.
Office Customization Tool
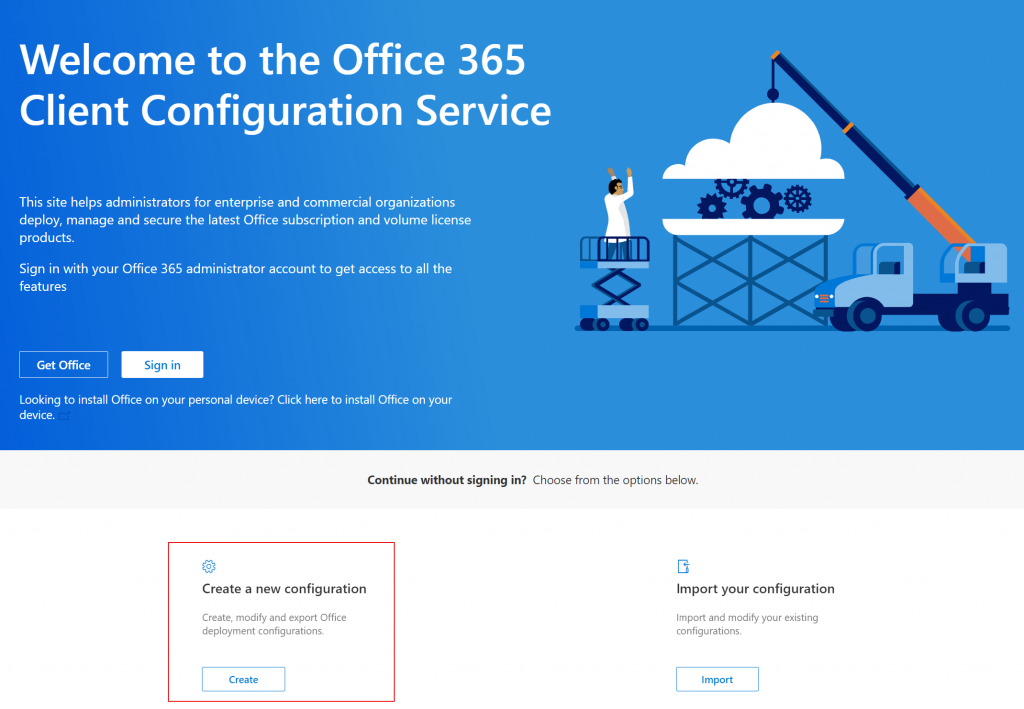
Everything starts from the Office Customization Tool, a website made available by Microsoft that allows you to create an .xml file capable of personalizing the installation of Microsoft 365.
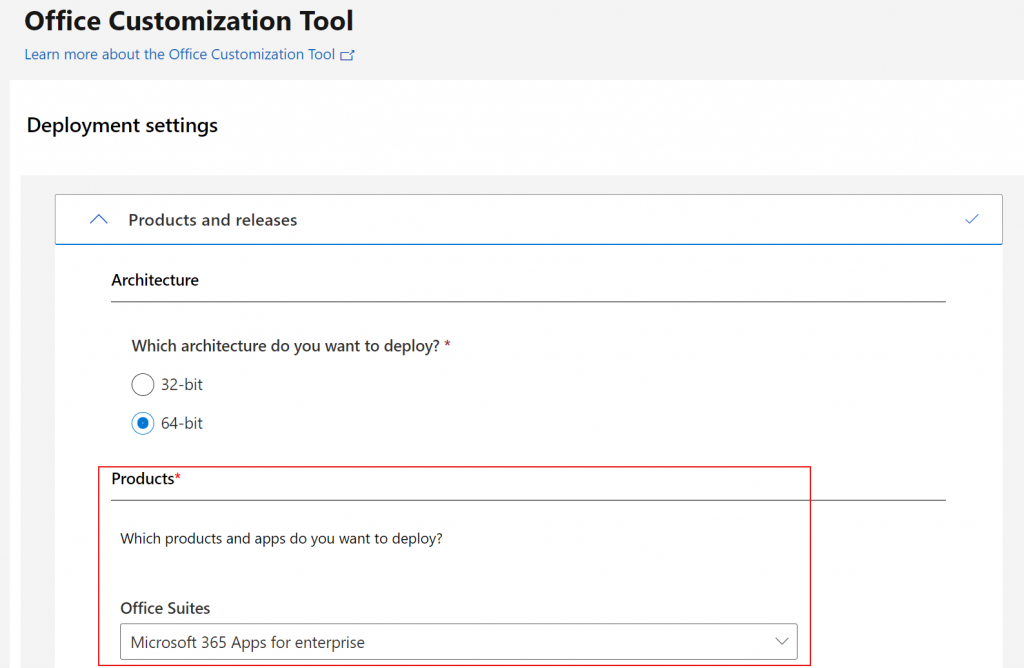
The portal is quite easy to use but it hides some small pitfalls that are good to know. The first step is to choose the architecture to be installed, where 64bit is the default standard and always to be chosen; however, there may be problems with outdated software that uses 32bit DLL, which is why you have a double choice.
Versions
There are 4 installation options available in the tool:
- Microsoft 365 App for Enterprise
- Microsoft 365 App for Business
- Office 2019 Professional Plus
- Office 2019 Standard
Since early 2020, Microsoft has changed the name of the cloud SKUs that were once known as Office 365 Enterprise and Business, but the concept does not change. The Enterprise version can only be used by Microsoft / Office 365 E plans (es. E3) while the Business version works only with Microsoft / Office 365 Business plans (es. Business Premium). The concept of operation is related to product activation, not direct access to cloud services.
Update Channel
Office 365 is a dynamic platform and the product team is working to update it every day (as regards cloud services), this forces the client to stay updated with it quickly. From this point of view, a bit like Windows 10, there are several client update programs:
- Current Channel: provide new Office features as soon as they are ready but on no set schedule
- Current Channel (Preview): provide new features at least a week or more before that new version is released to Current Channel
- Monthly Enterprise Channel: provide new Office features only once a month on a predictable schedule
- Semi-Annual Enterprise Channel: provide new Office features every 6 months on a predictable schedule
Everything that concerns the Security and Critical patches are always released monthly or as soon as available, depending on the criticality of the problem.
Surely the Monthly Enterprise Channel is the most suitable, because it allows you to reduce the network load and any problems that may come up with updates.
The Current Channel mode is perfect for those who must test the product before going to release or for those who always want to have the latest version installed (a condition sometimes necessary to use certain functions in Preview). Obviously the channel mode used varies the product support, because if the Monthly Enterprise Channel is supported for 2 months, the Semi-Annual Enterprise Channel has a 14 months support and this factor, for certain companies, is no little detail.
Installation & Upgrade
About client install, there are 3 options to choose:
- Install from the cloud
- Install from local or network path
- Microsoft Endpoint Configuration Manager
The first option is perfect in two scenarios: small scenarios, where direct download is preferred, or when using Microsoft Intune to distribute the suite to your devices via the cloud. Bandwidth performance, the number of devices, are the main aspect that can impact on the final decision.
The local path option, what we are seeing in this article, increases the installation speed but requires more attention from the IT admin to keep the setup bits updated (especially if the installations are made not with so often).

As for the upgrade part, the advice is to let it be managed by the cloud, because the maintenance could generate a big effort – you should download a new build every month and set up the .xml file to be able to manage updates from the network location.
This logic is not valid with Microsoft Endpoint Configuration Manager (aka System Center Configuration Manager), because there is an automatic upgrade system managed directly by the platform.
The .xml file can be also configured to uninstall previous versions of Office, for example 2016, and also to jump from a 32bit build to a 64bit build; this condition only applies to Office 365 builds 1902, or higher.
Last Tasks
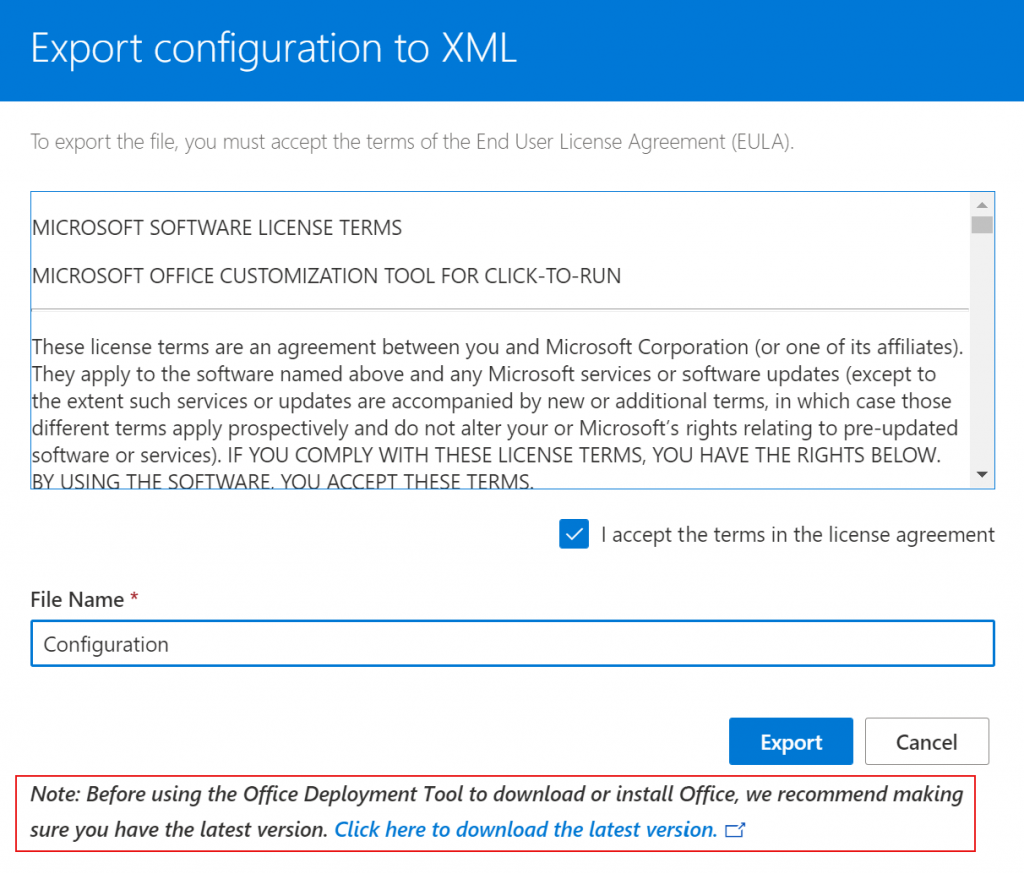
The rest of the operations are quite easy, because there are about automatically approving the EULA, setting the licensing model (user, device) and the name of the organization.
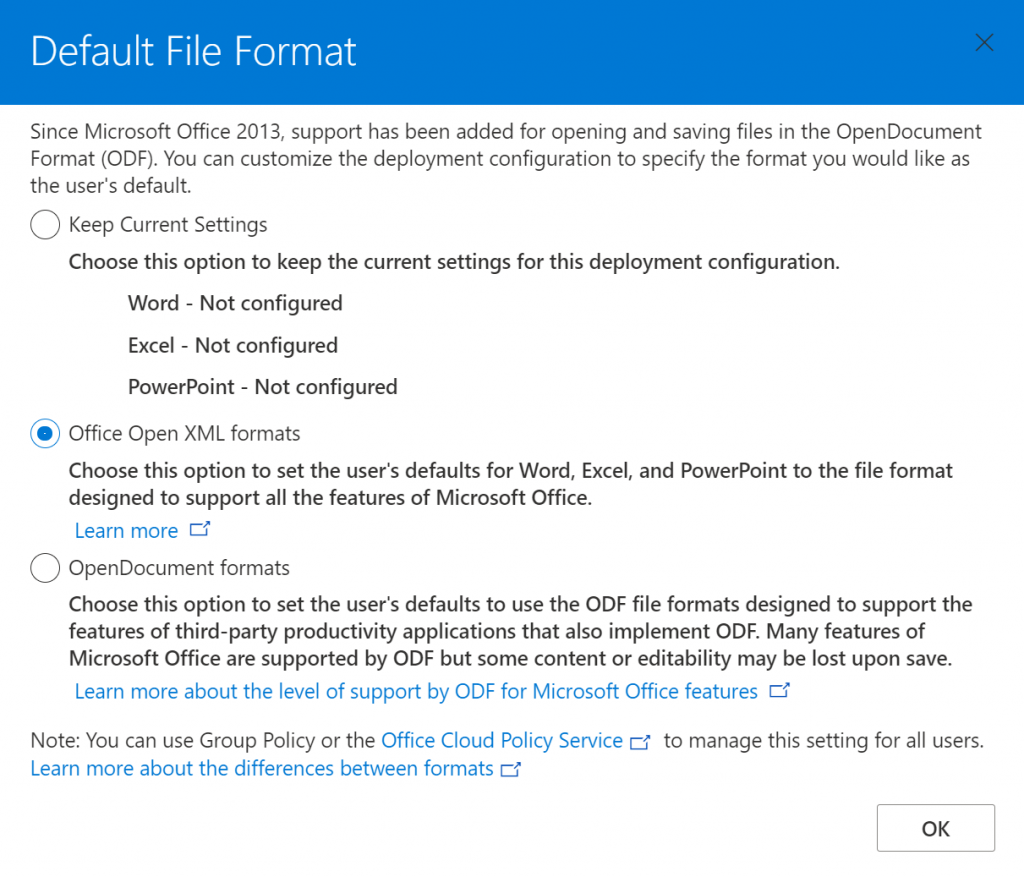
Once the operations are completed, you can export the file but not before choosing the default format to assign to the Office files – usually Open Office XML Formats.
This is an example of an .xml file configured with what has been addressed so far. The installation is based on the Enterprise, removing no longer useful software, automatic activation with a license assigned per user.
<Configuration ID=”61361a1f-b918-4a24-b891-24bb7414712e”>
<Add OfficeClientEdition=”64″ Channel=”Current” SourcePath=”\\myserver.domain.local\software\O365″ AllowCdnFallback=”TRUE”>
<Product ID=”O365ProPlusRetail”>
<Language ID=”it-it” />
<ExcludeApp ID=”Access” />
<ExcludeApp ID=”Groove” />
<ExcludeApp ID=”Lync” />
<ExcludeApp ID=”OneDrive” />
<ExcludeApp ID=”Publisher” />
</Product>
</Add>
<Property Name=”SharedComputerLicensing” Value=”0″ />
<Property Name=”PinIconsToTaskbar” Value=”FALSE” />
<Property Name=”SCLCacheOverride” Value=”0″ />
<Property Name=”AUTOACTIVATE” Value=”0″ />
<Property Name=”FORCEAPPSHUTDOWN” Value=”TRUE” />
<Property Name=”DeviceBasedLicensing” Value=”0″ />
<Updates Enabled=”TRUE” />
<AppSettings>
<Setup Name=”Company” Value=”Inside Tech Lab” />
<User Key=”software\microsoft\office\16.0\excel\options” Name=”defaultformat” Value=”51″ Type=”REG_DWORD” App=”excel16″ Id=”L_SaveExcelfilesas” />
<User Key=”software\microsoft\office\16.0\powerpoint\options” Name=”defaultformat” Value=”27″ Type=”REG_DWORD” App=”ppt16″ Id=”L_SavePowerPointfilesas” />
<User Key=”software\microsoft\office\16.0\word\options” Name=”defaultformat” Value=”” Type=”REG_SZ” App=”word16″ Id=”L_SaveWordfilesas” />
</AppSettings>
<Display Level=”Full” AcceptEULA=”TRUE” />
<Logging Level=”Off” />
</Configuration>
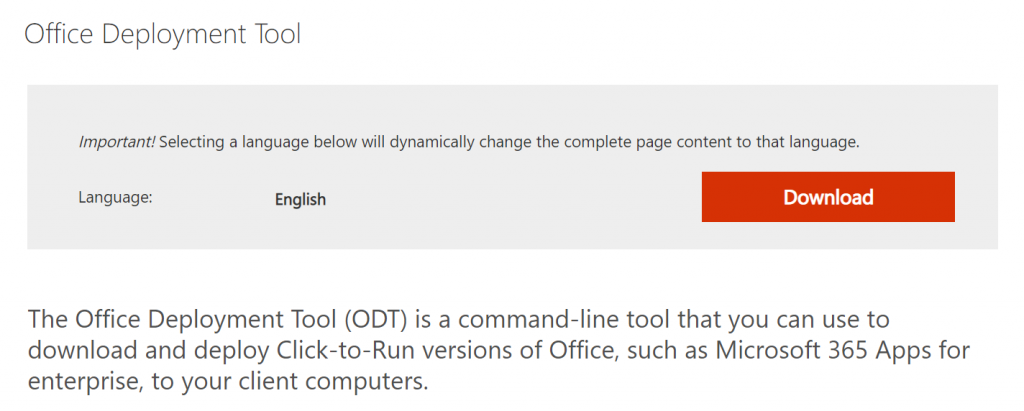
Before exporting the file, download the Office Deployment Tool that we will need to download and install the client.
Download and Setup
The download can be done from any location, but first you need to extract the Deployment Tool which will unzip the setup.exe file; copy the previously exported .xml file in the same directory and run this command: setup.exe / download.
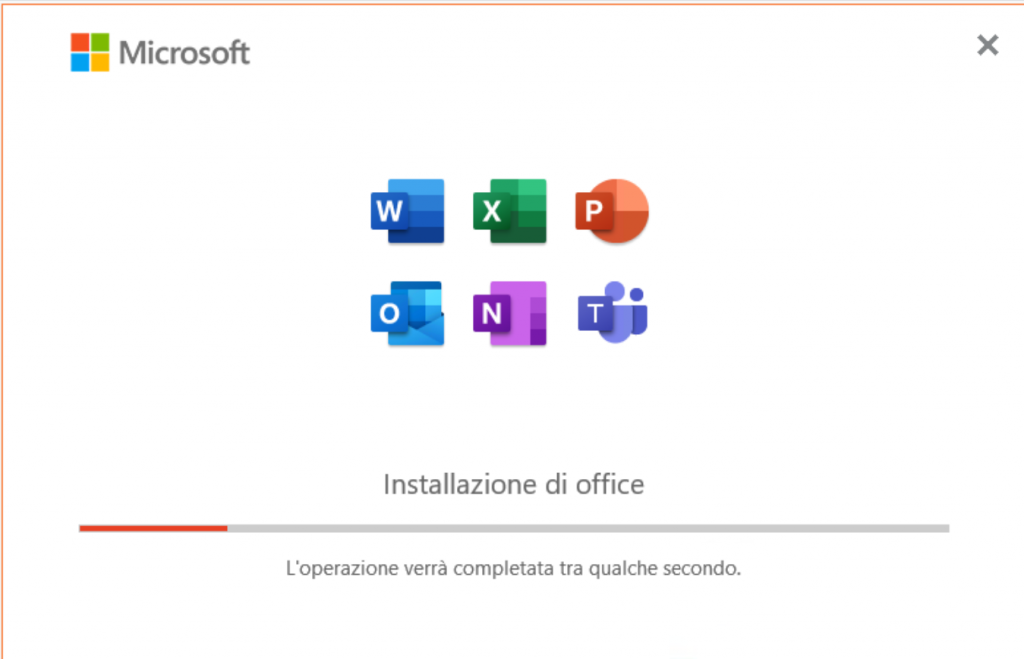
Instead, the setup must be performed on each individual machine, using the command setup.exe / configure configuration.xml – or as you called the file – which will start the installation.
Automation
Excluding Microsoft Intune and Endpoint Manager, the installation can be automated with a script in PowerShell, and deployed via GPO, like this:
$ResultADR = Get-ItemProperty HKLM:\Software\Microsoft\Windows\CurrentVersion\Uninstall\* | where {$_.DisplayName -like “Microsoft 365 for enterprise*”}
$TempOfficePath = “\\myserver.domain.local\software\O365\”
$SetupFile = “setup.exe”
$ConfigFile = “configuration.xml”
If ($ResultADR -eq $null) {
(Start-Process -FilePath $TempOfficePath$SetupFile -ArgumentList “/configure $TempOfficePath$ConfigFile” -Wait -Passthru).ExitCode
}
Conclusions
Installing the Microsoft 365 client in a personalized way is always the best thing, because it allows you to adapt it to your business model. As seen above, there are a couple of precautions to watch out for, but otherwise, the time to do everything is about 10 minutes… ..installation included!
#DBS