
Veeam Backup for Office 365 is the solution to protect your tenant where everyday many email and documents are managed to make your business. The product is now in v3 and thanks to latest improvements, we have a great level of reliability.
One of the most important news, in terms of security, is absolutely the support to Modern Authentication. Compared with standard authentication, this offers a high quality standard about protection because the trust is made in Azure Active Directory, thanks to a Secret Key, instead classic username/password. Once the application is registered, the key cannot be recovered unless you create a new application.
If all this has not convinced you, it is worth considering that Microsoft intends to drop Basic Authentication as soon as Office 2010 goes out of support and this means that all access clients to the Office 365 platform will only have to support the Modern Authentication.
In this article we’ll see how to do it within Veeam Backup for Office 365.
App Registration
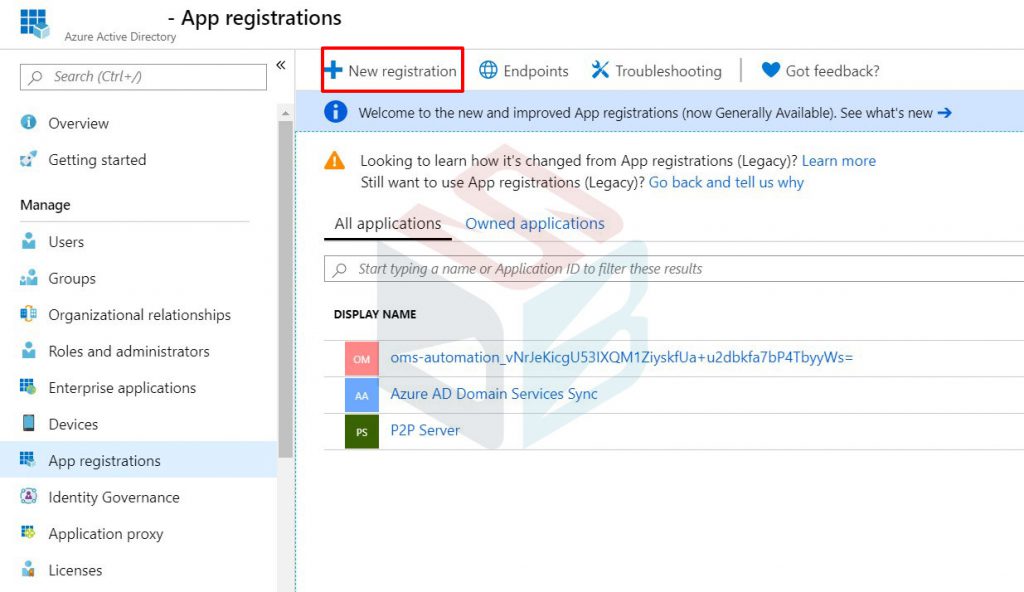
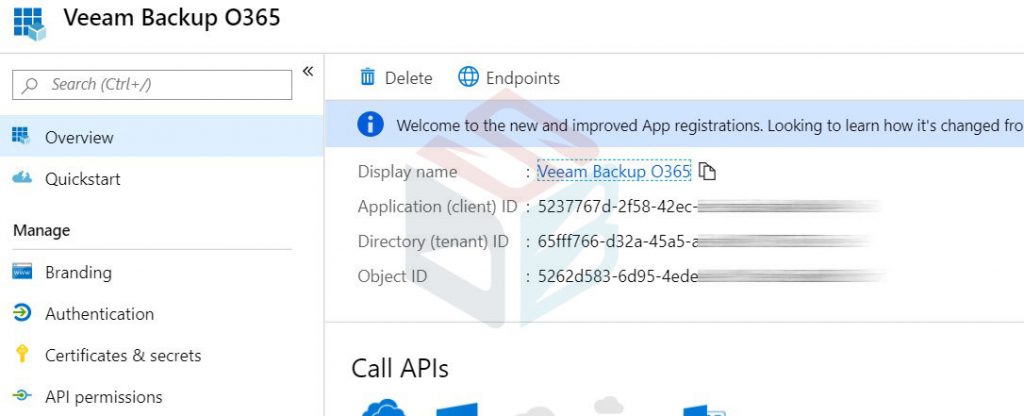
The first step is to register a new application within the Azure Active Directory – figure 1 section.
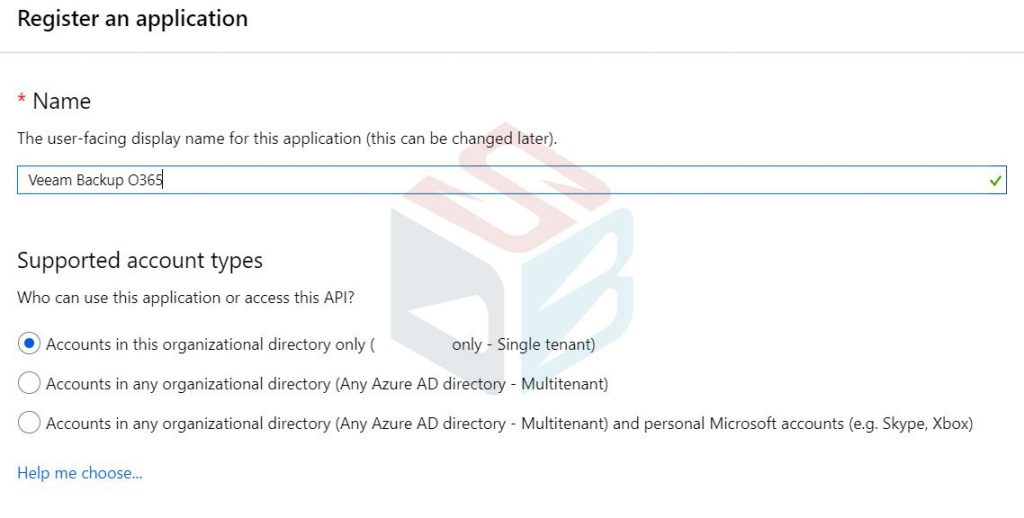
Enter the name you prefer – figure 2 – leaving the option on the supported account type unchanged.
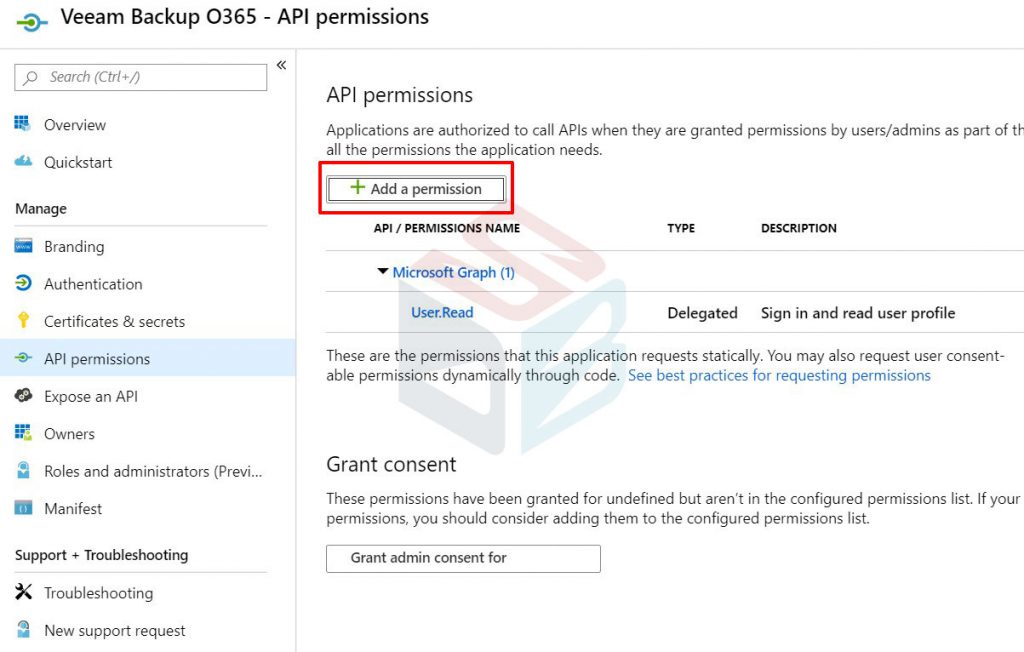
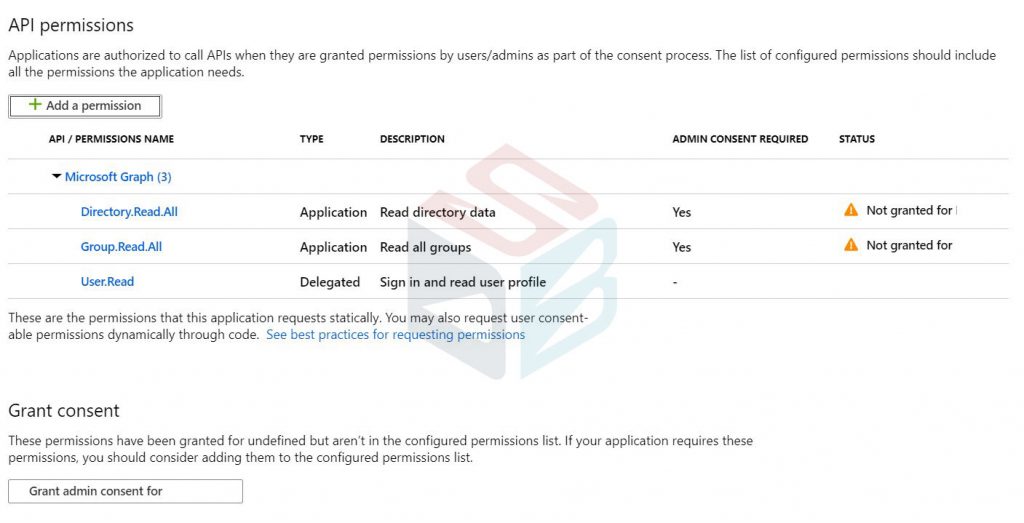
Once created, enter the Permission API section and add new permissions – figure 3.
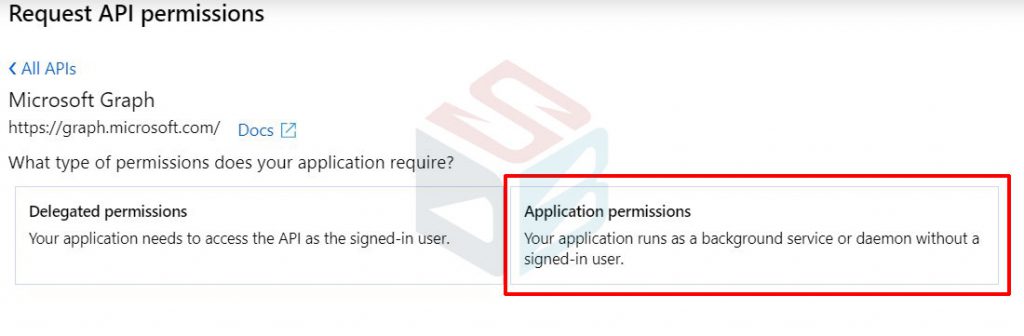
Select the Application Permission – figure 4.
Search for and select these permissions, without forgetting to click the Grant Admin Consent button – figure 5.
- Directory.Read.All
- Group.Read.All
The next step is a new Secret Key; as mentioned above, as soon as saved it will only be shown once and this causes the security level to be high.
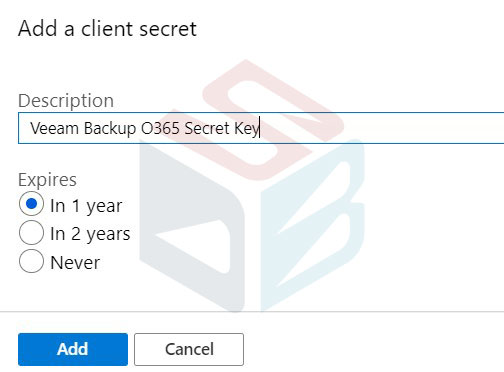
NB: Remember to save this key until you set up Veeam Backup.
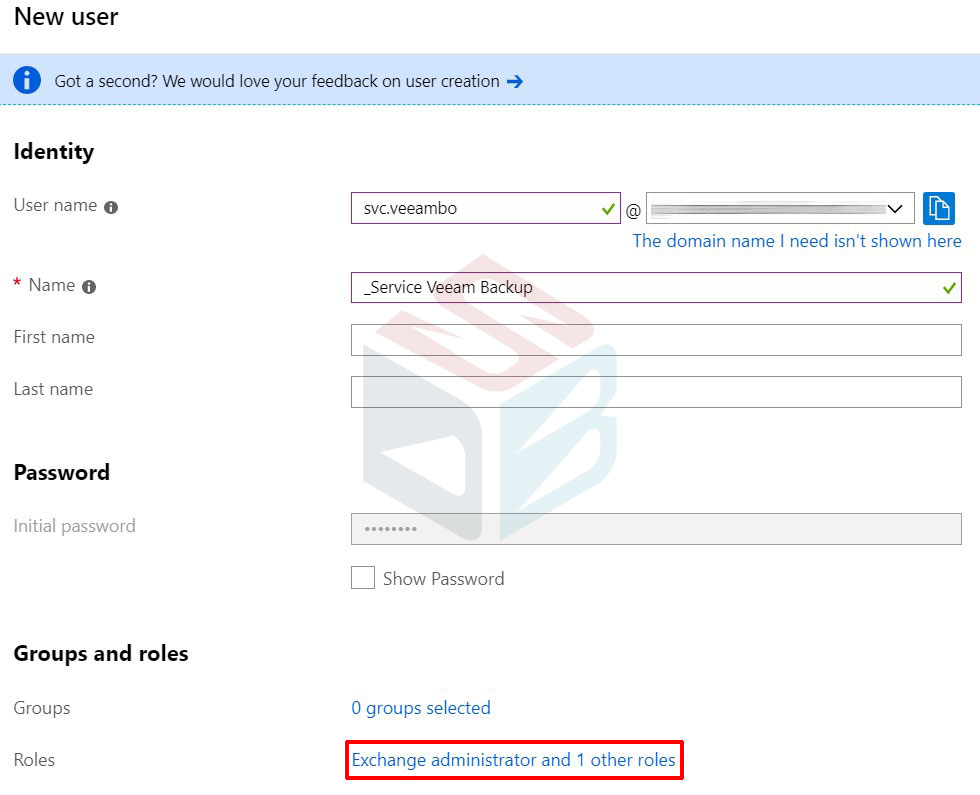
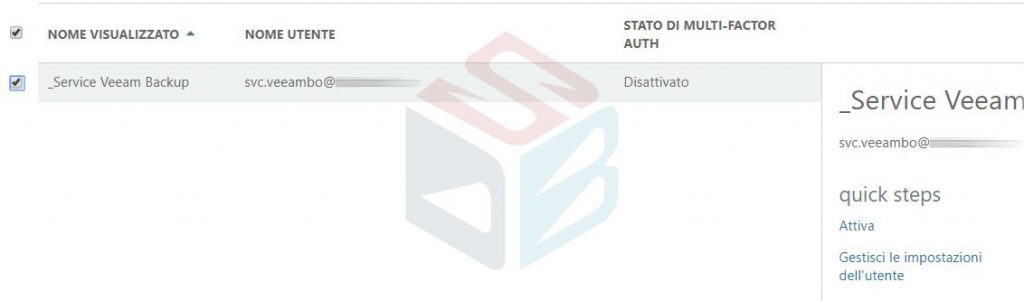
Once the application part is marked, it is time to create the user of access to resources – figure 8.
Multi Factor Authentication (MFA) should be enabled for this user to make everything fine. Is it mandatory? No, but having this user administrative permissions, activation is the minimum.
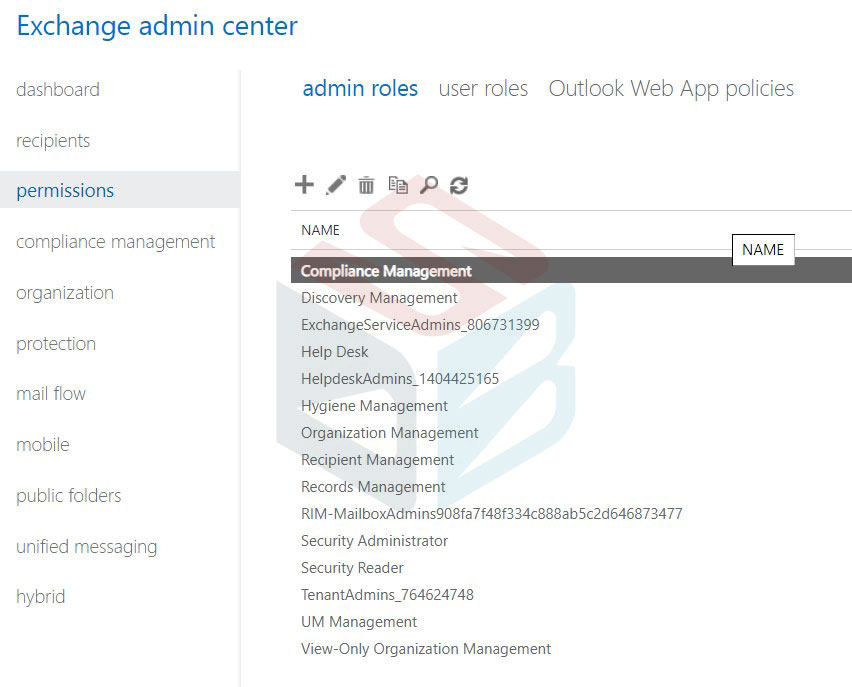
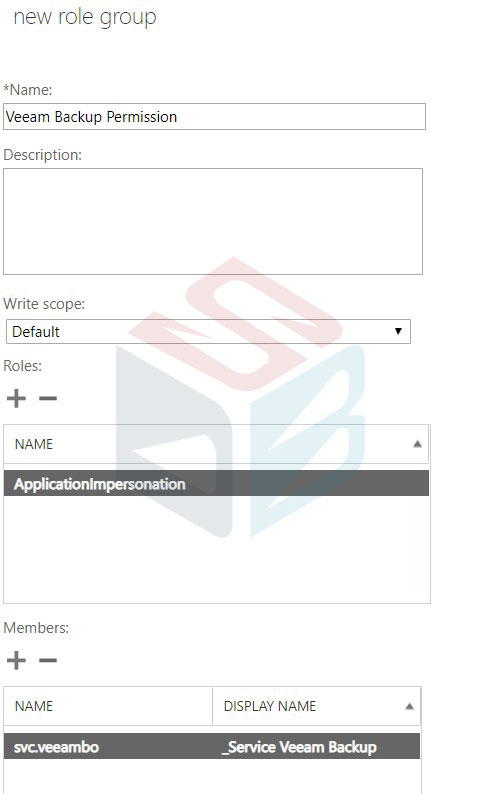
To protect Exchange Online, you must assign the user “Global Administrator” or “Exchange Administrator” permissions, as well as assign permissions to ApplicationImpersonation – figure 11 – within the Exchange Control Panel – figure 10.
To protect SharePoint Online, you must assign the user “Global Administrator” or “SharePoint Administrator” permissions.
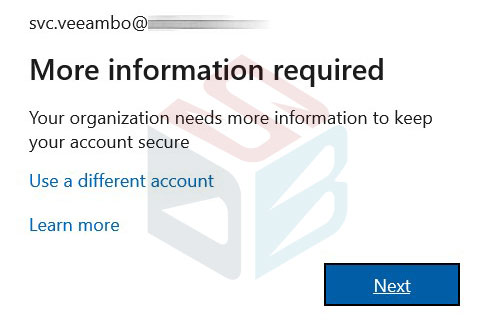
Open an InPrivate Browser page and login with the service user, to activating the MFA part – figure 12 and 13.
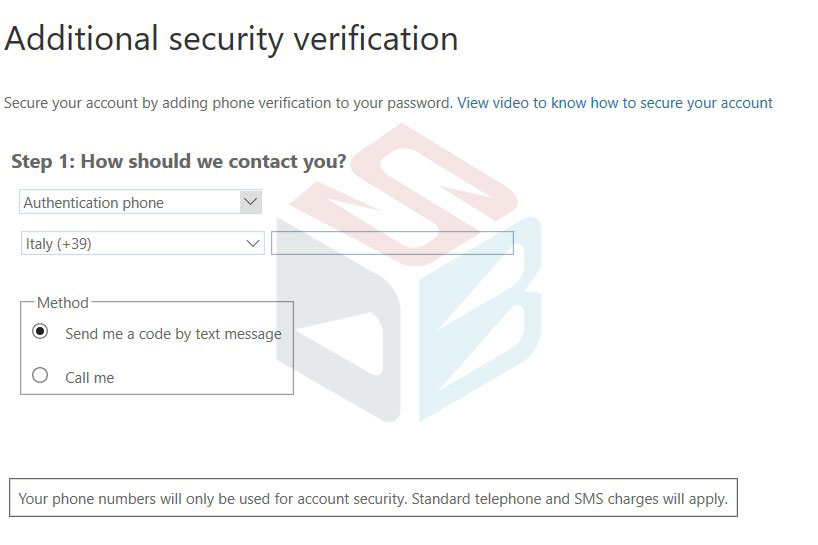
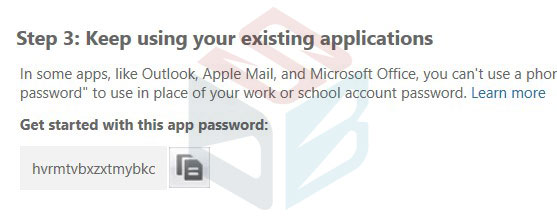
As each user where is activated the MFA, an app password is released – figure 14 – that allows you to access mail resources, such as Microsoft Outlook. This password takes the place of classic one but not for standard login to Azure/Office 365 website.
Veeam Configuration
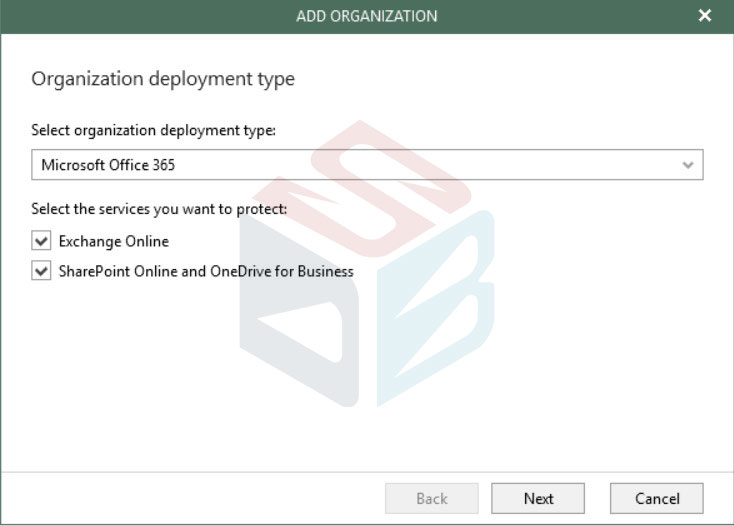
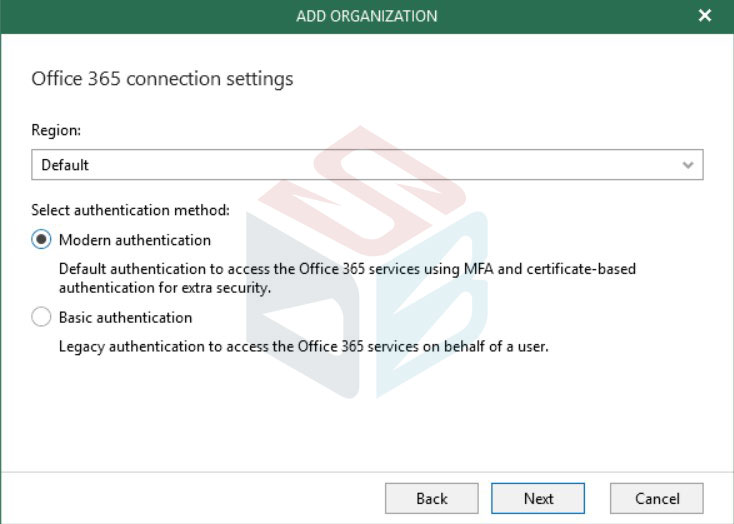
With Azure AD configured, all that remains is to add a new tenant within Veeam Backup – figure 15. The difference, compared to the classic wizard, is the selection of Modern Authentication mode – figure 16.
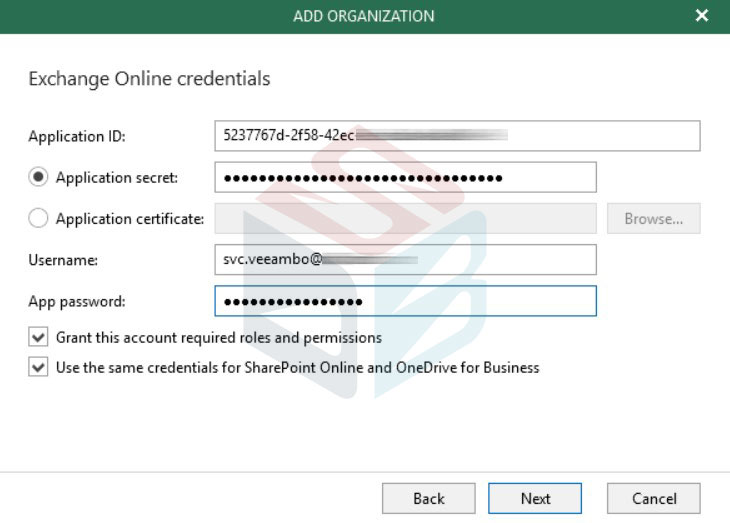
Enter the following parameters:
- Application ID: application code you created
- Application Secret: the key you saved earlier
- Username: the user created for this service
- Password: the password app generated from MFA wizard
If you have complied with the details of the article, the result will be that of figure 18.
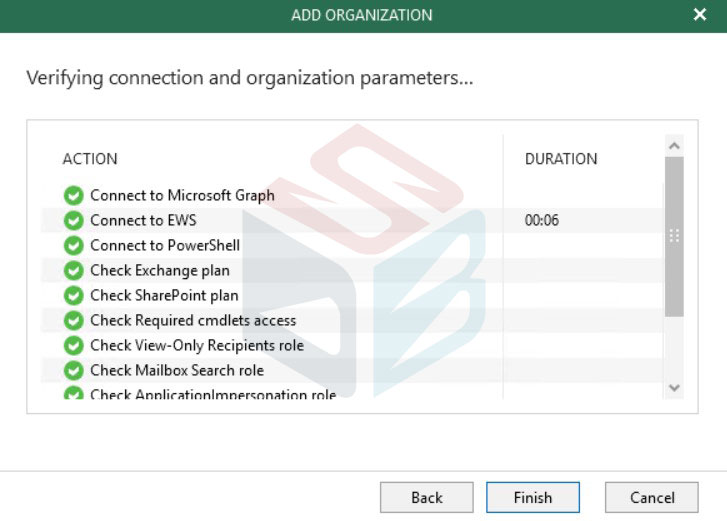
Enjoy! You can now configure your security plan however you want!
#DBS