Veeam Endpoint Backup is a famous product and it’s not necessary add new information about it. After the first build was released I made a webinar to present it and all the potential and one the key point was how to use Endpoint Backup to convert computer from physical to virtual easier.
Is this article we will see how to convert a client to virtual; the example is perfect in case you want move the machine into a VDI infrastructure without reinstall all the software or lose some settings. This scenario is perfect also for server but keep in mind to check if all the applications run into virtual environment and if there aren’t particular hardware requirements.
Create Backup
From Veeam Endpoint Backup, create a new backup job and select network share or Backup & Replication as repository, figure 1. I’m not using a USB disk just because it’s virtual environment.
The other step is create the Recovery Media to restore items. This file is generic for all Windows machines (so don’t care about the name).
Restore Image
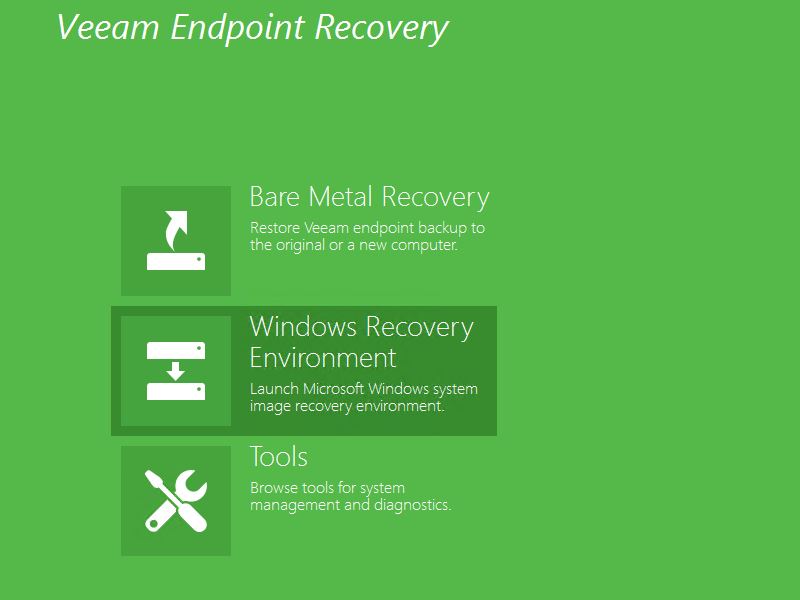
Create a new virtual machine and mount the ISO, to start the recovery procedure as showed in figure 2.

Figure 2 – Veeam Endpoint Recovery
Select Bare Metal Recovery, go ahead into the wizard and choose the network share as source repository, as showed in figure 3. Remember that the machine is not in domain so could be necessary add credentials.
Once you have found the files, figure 4, it will be possible select the right source machine, and the recovery point, to restore.
The last step is the Restore Mode, figure 5. In a P2V scenario could be necessary use the Manual Restore because not all the disks are recognized by wizard. This procedure gives you possibility to restore the main volume into a smaller volume (not too small compared with source).
At the end of this task is possible starts restore, figure 6; this may take a while depending on the size of restored disks and by host/network performance.
After one hour, more or less, your computer will be converted to virtual and will be ready to be used.


