New appointment with Azure File Sync. After you’ve seen how to configure the solution and how to create a resource monitoring dashboard, available at these links:
in this article, we’ll see how to create a protection plan within Azure Backup. The solution is still in Preview, but that doesn’t mean it can’t be used for production environments. We will skip the creation of the Backup Vault, because it takes a few seconds.
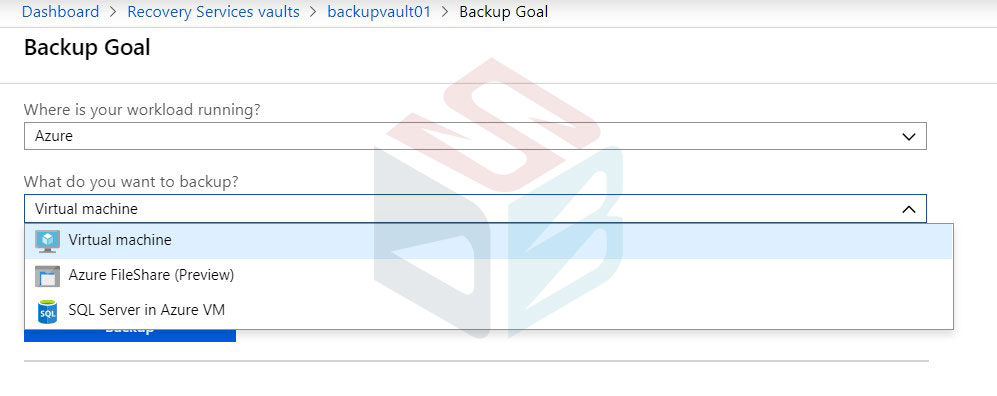
Create a new job by selecting Azure as your workload placement and Azure FileShare as the service you want to protect – figure 1.
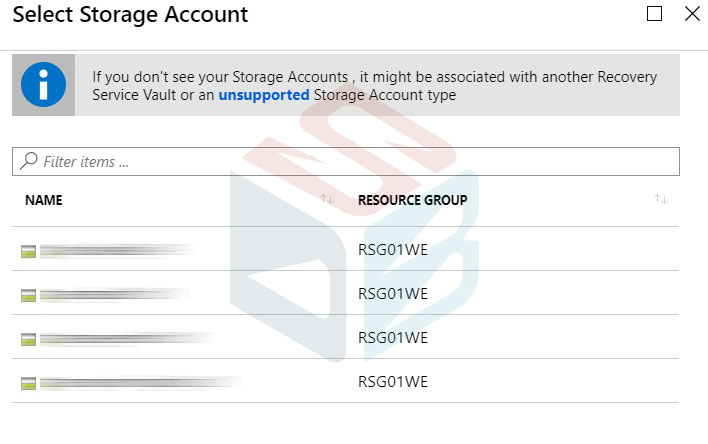
At least for now, you can protect objects that are in the same Resource Group, so it’s important that the Backup Vault and Storage Account are in the same box – figure 2; it’s not a problem if you’re still using v1 mode SA.
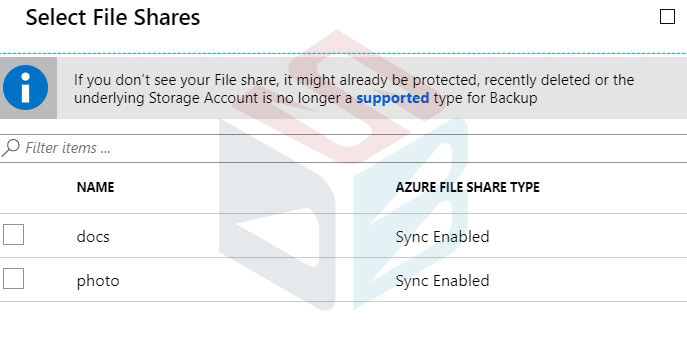
Select the shares you want to protect – figure 3 – by checking whether or not they are under sync using Azure File Sync.
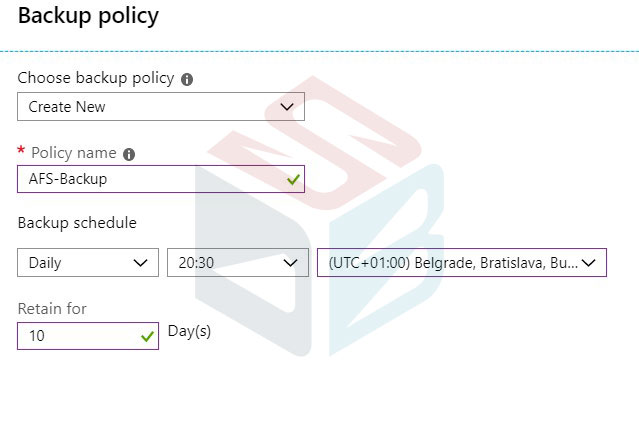
The wizard will end with the creation of the backup policy – figure 4. Currently the job can run up to once a day, which could be a problem for those who need to have a more frequent Recovery Point Object (RPO).
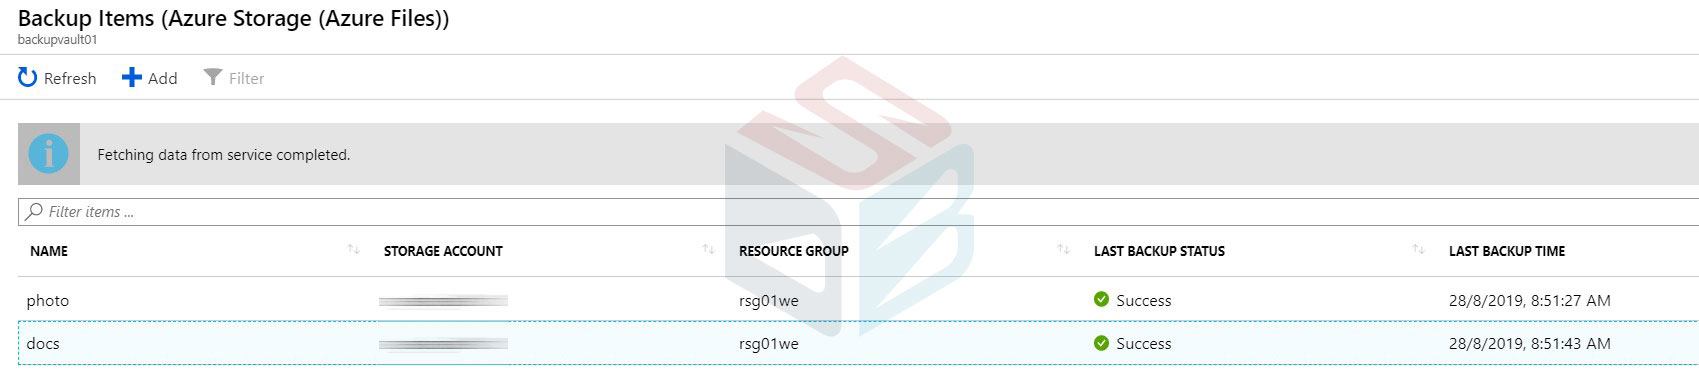
Once the wizard is finished, you will be able to view the status of the backup from the appropriate console – figure 5; in addition, you can perform a manual backup of the various protected shares (useful task when you want to create the very first backup point).
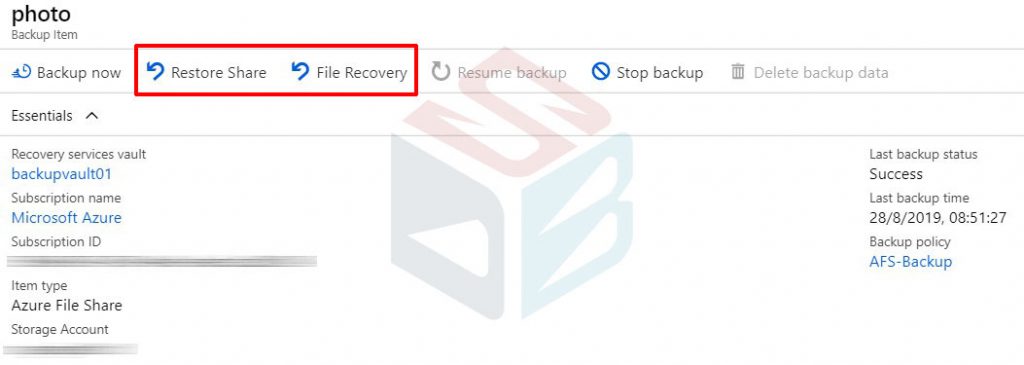
Recovery
The share restore – figure 6 – can be done in two different ways:
- Restore Share: full share restore
- File Recovery: single/multi object restore
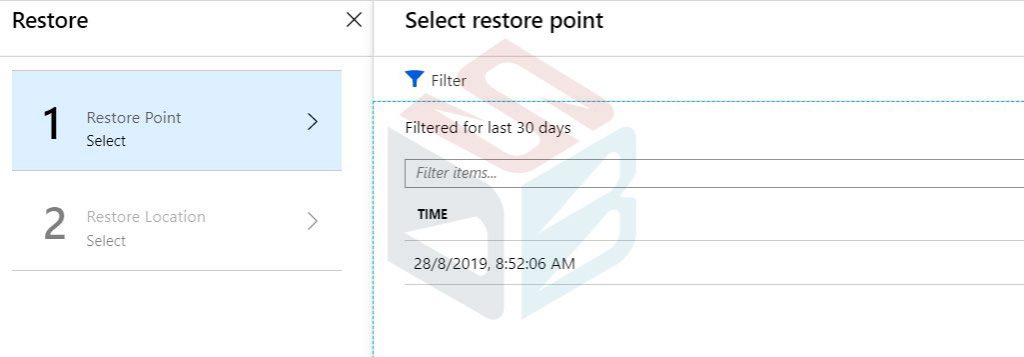
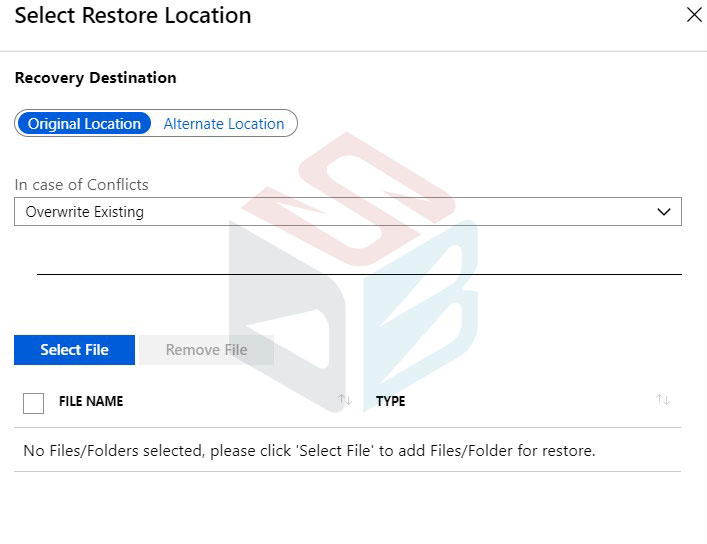
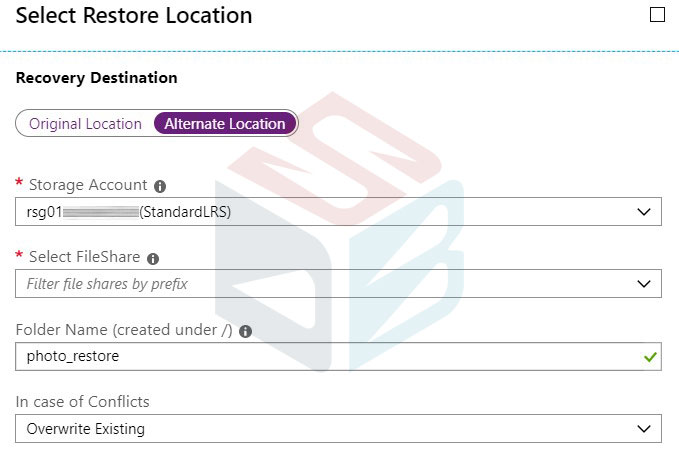
In both modes you need to select a restore point – figure 7 –
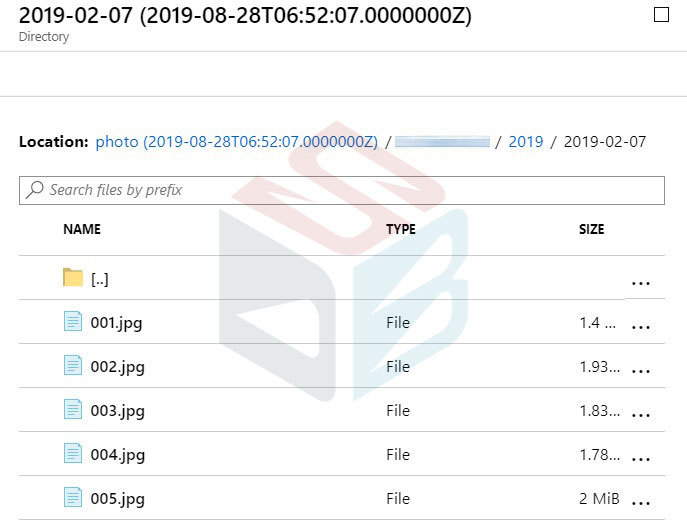
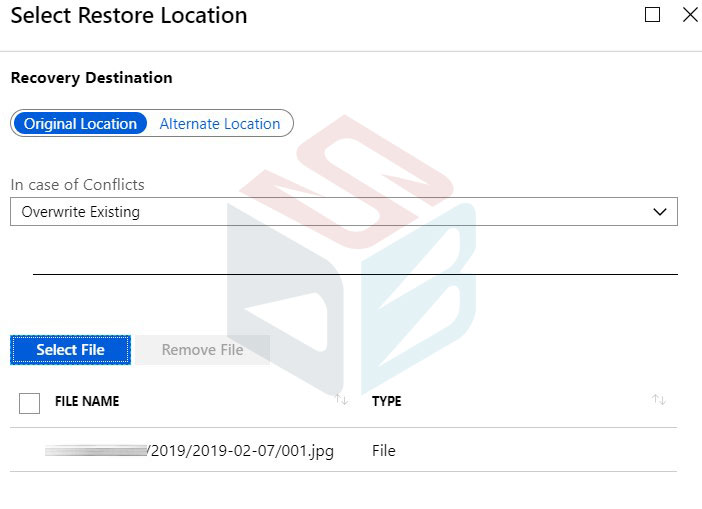
and where to restore, whether in the original location or in an alternate storage account – figure 8 and 9; the difference between the two modes is given by the fact that in the single restore, you must select the objects that you want to retrieve – figure 10.
NB: in case you want use the item restore, keep in mind that the limit is 10 file/folder per job.
After the selection phase – figure 11 – you will be able to perform the restore job, with a time that will vary depending on the number of objects to be restored.
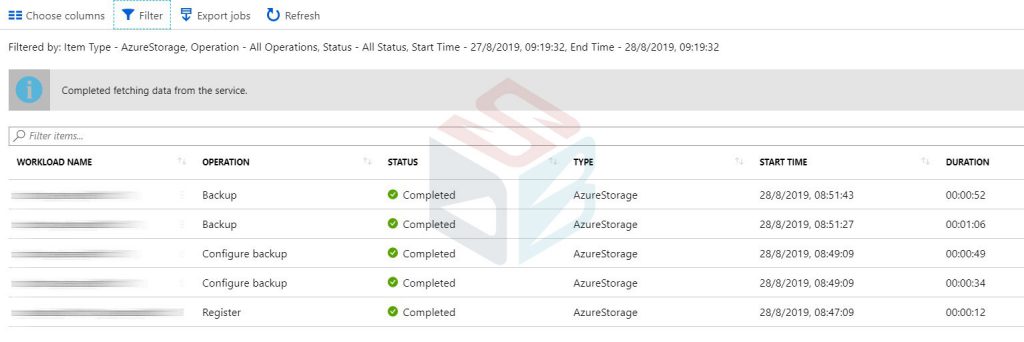
Backup Jobs
In case you want to check the status of your backups, you can open the Backup Jobs section of the vault – figure 12.
Summary
In just a few steps, we have created a backup plan for a very useful service for all companies that want to use the Hybrid-Cloud model, reducing the workload of their on-premises servers. In the coming months the backup service will come out of the preview and this will bring in new skills and more features.
#DBS